I posted these “candles” to our Instagram stories the other day. I got so many DMs that I thought I’d post how I made them.
I saw candles like these on an Instagram repost from Flannel Dog Farm, and I knew I had to try making some myself. The original post, with the beautiful felt/wood candles in the background, was about (re)normalizing a different sort of holiday gift giving. Instead of buying different, buying not-at-all. Swapping seeds, starters, recipes. I’m in!
How To: Wooden Candles
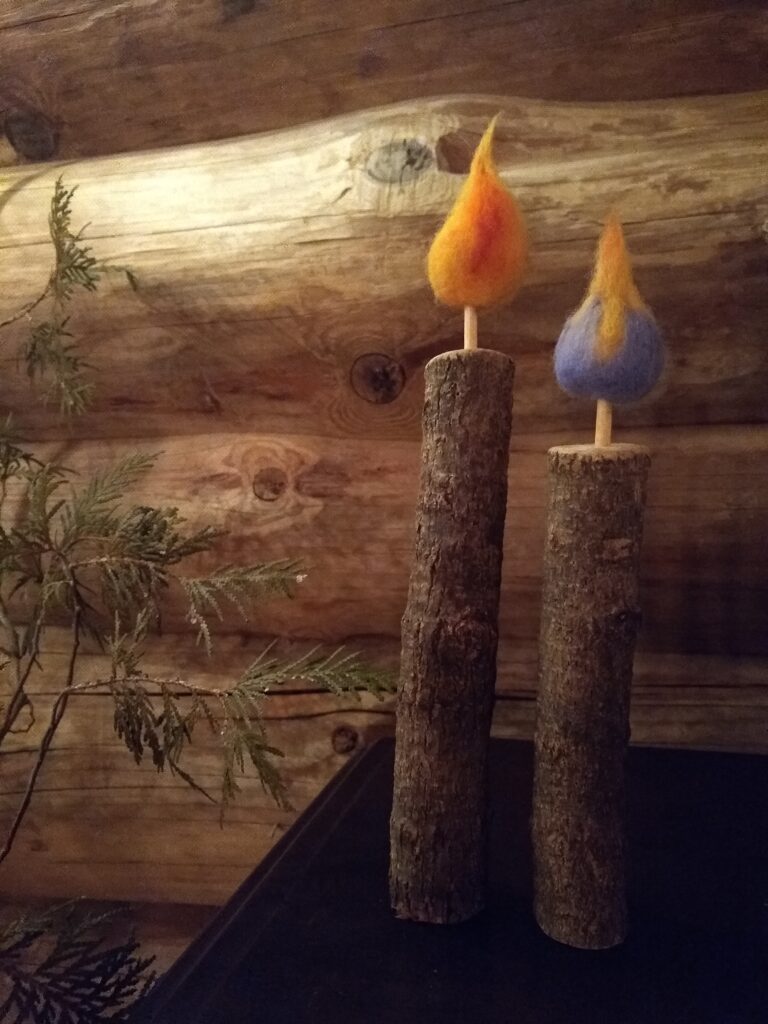
I made these candles by creating a needlefelted flame, and attaching it to pruned wood with a dowel. We always have a stash of cut saplings and branches with the firewood, usually either from removing invasives or from windfall. Invasives like buckthorn would be perfect for this project.
I looked for a relatively straight length of wood to start with, since it’ll stand better unsupported. The first step is to make a nice straight cut of the wood to whatever length you’d like your candle. The ones shown here are taller tapers, but little chonky ones also look great.
I needlefelted these flames, but they could be wet felted as well. All you need for wet felting is soap and water. Here are visuals for how to make a wet felted ball, from some videos we posted of how to make felted acorns.
For a really bulbous flame, you can do your felting on a form — e.g. make a felted ball first, and add a flaming tip. To make the candles shown here, I repurposed a couple of small styrofoam balls from an old project, wrapping them in roving, and felting it in place.
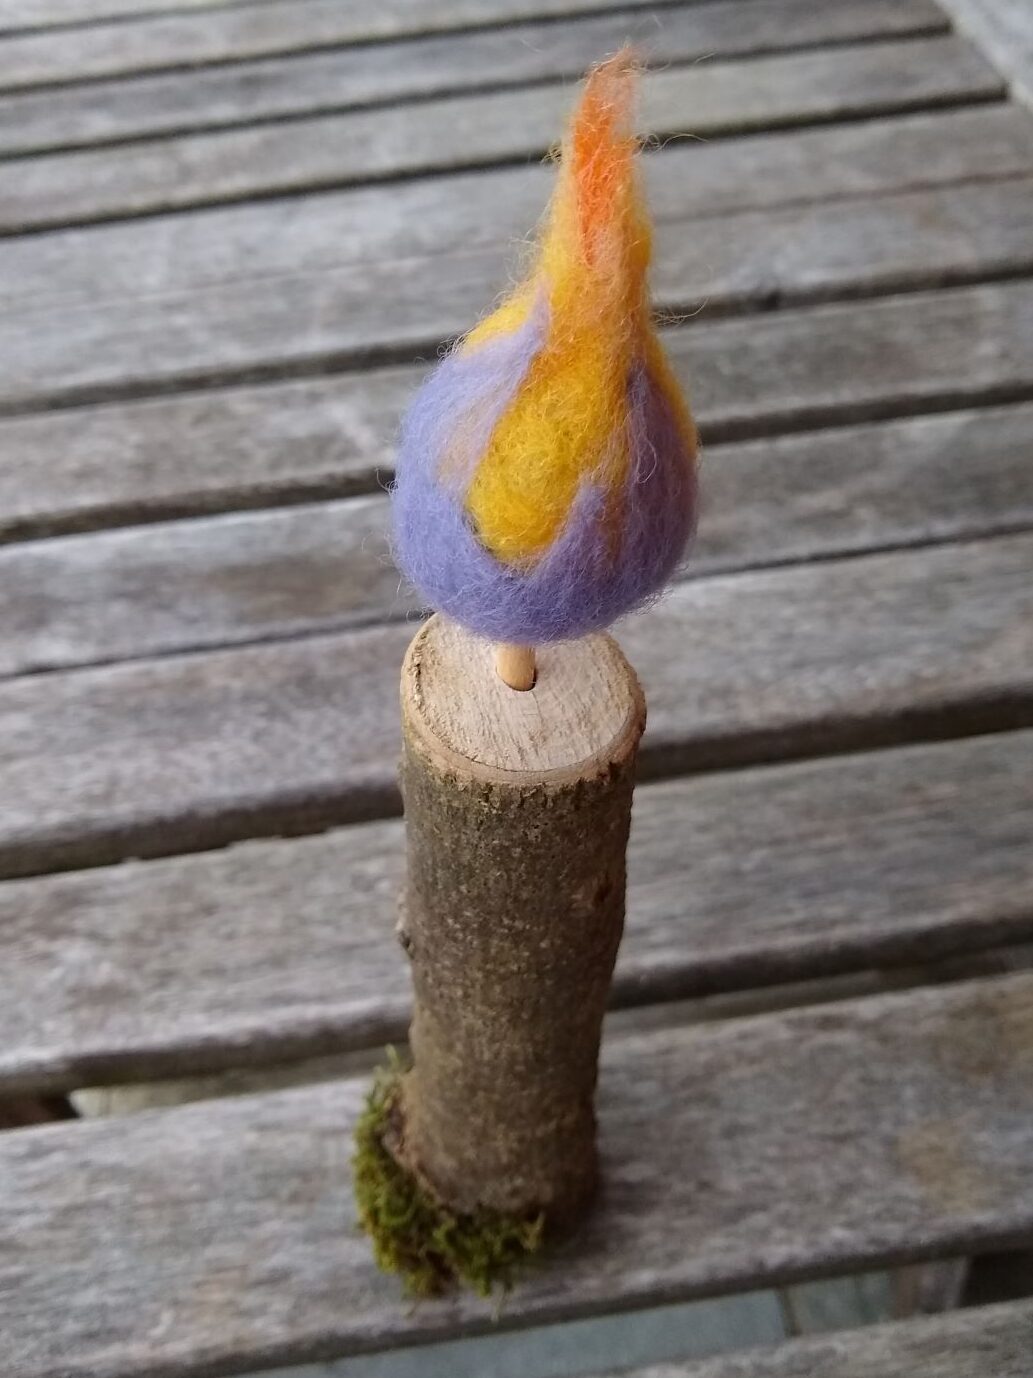
Build up your flame from the inside out. E.g. Take a tiny tuft of red, and wrap it in orange, leaving a little exposed. Felt the red and orange together, then then wrap the orange in yellow, leaving a little exposed. Keep adding yellow until the flame is the thickness and size you would like. You won’t need much of your inner flame colours, your outermost colour (e.g. yellow) is what you’ll keep building up to get a nice fat flame. You can “stitch on” character colours with a felting needle once you have a basic shape. Once the flame is formed, you can roll and twist the tip with your fingers to create a pleasing point.
The flame and branch are then attached together with a small dowel. I started by drilling a hole in the centre of the base wood, approximately the same diameter as the dowel. If it’s a snug enough fit you won’t need glue. Then I used an awl (or nail) to “pre-drill” the flame — poking a hole in the bulb end, then inserting the dowel. I find sanding and rounding the edges of the branch at the top gives a pleasing look. I think I’ll be even heavier handed next time, and really “melt” that branch.
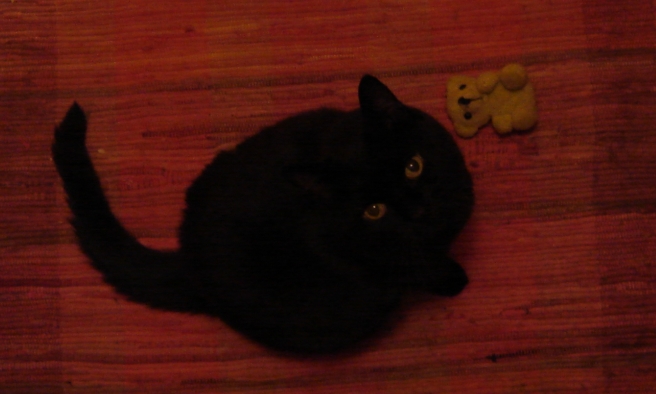
These “candles” are perfect for if you have a spot that could use a little warm cheer, but where it isn’t safe to have an open flame. Or if, hypothetically, you have a cat who likes to jump up on the coffee table, immediately swishing her tail right through the candle, and then you have to quickly both extinguish a tail, and learn how to get wax out of fur.
I am of course speaking hypothetically. (She was fine and we never used candles there again.)
If you try making one of these candles too, I’d love to see a photo. Happy making, makers!
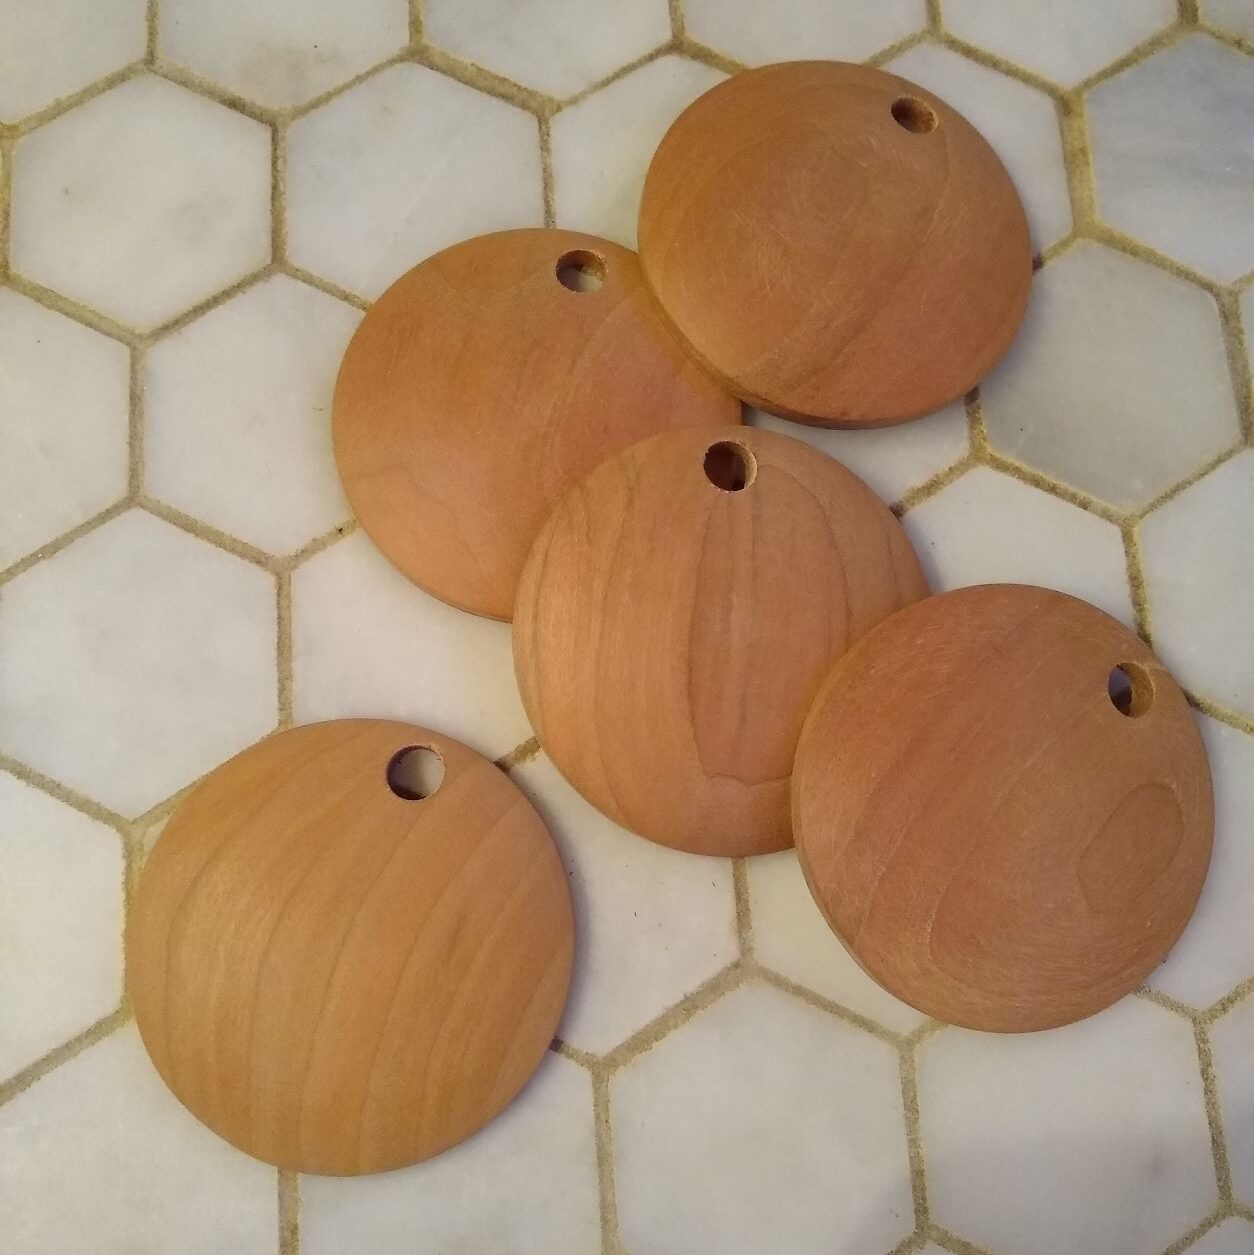
Beautiful offcuts made ship shape and ready to woodburn, thanks to Mystic Wood Carving
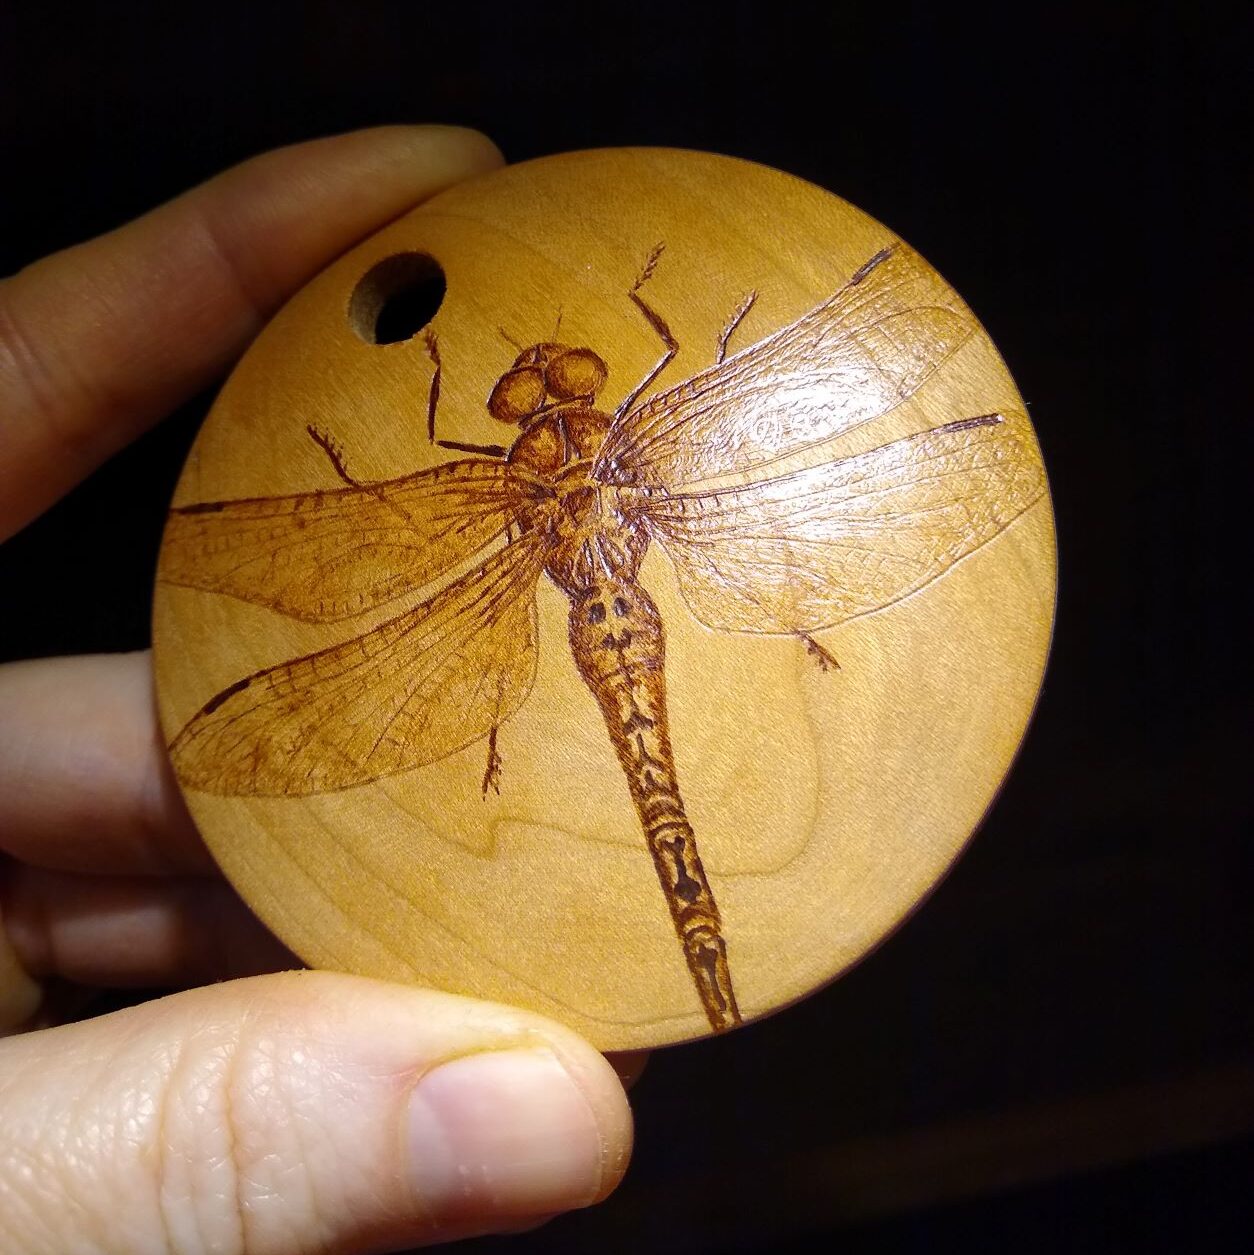
Each Christmas, I ask my niblings (pl. niece + nephews) to choose their favourite X and I woodburn it for them to make an ornament. Last year it was their favourite bird, the year before it was their favourite mammal. This year, I requested they choose their favourite insect. (What kind of aunt would I be if I didn’t encourage a love of bugs??)
This may be the last year for this particular mini-tradition, since everyone loves a triptych. But at least on the Aunt end of things, it’s something I have really enjoyed doing. Each critter they request is a fun challenge. And I like the time it gives me both to consider the nibling in question, and to spend time with whatever critter they requested. A macaw, a highland cow, a rhinocerous beetle. And so far so good. I’ve been able to woodburn each one to a recognizable level. As far as I know, the nephew who requested the macaw didn’t confuse his with the cow, or vice versa. 😉
When I share pictures of the ornaments on social media, people often seem to like them, but it’s frequently expressed in comments like “It would be so wonderful to be an artist!” or “I wish I had natural talent like you!”
Y’all. I can’t express this quickly enough or loudly enough. I do not have natural talent. Art was consistently one of my two lowest grades in school (the other was gym). I usually got a “C”, and each one of them was a little kick in the soul teeth. My high school art teacher took me aside one day to make extra sure I got the message. Once we were out in the hallway, she said, “Your art is not very good, because you don’t have natural talent like the other girls. You should probably pursue something else.”
For the record, I give that attitude an “F”.
I have come to believe something about “natural talent”. And that is that it is mostly bunk.
I am able to make lots and lots and lots of things. But that’s not because I’m a magical snowflake of maker-ing. Or that my brain came with some special sauce on it that someone else’s lacks. It’s because I make things. All the time. From breakfast to a tatty old tshirt upcycled into underpants. Make all the things!
Many people who identify as artists or makers or creators were told early or often that they were those things. And that goes a really long way towards their ability to believe in themselves. The inverse, unfortunately, is also true.
Most people are told in ways big and small and often all the things they are Not. And so they stop believing in themselves before they’ve even begun. They are not an artist, they are not a musician, they are not a computer person, they are not good with X, Y, Z.
It is not helpful.
Because you Are. You are.
You are.
You are.
It’s not that simple of course. There are a few “Nots” that diehard makers like us must allow ourselves…
You are not done learning.
You are not going to see all the times your works don’t turn out the way you’d like as anything other than… times your works don’t turn out the way you’d like. They are not referendums of your skill, or predictors of your potential. They are called your “works” because you work on them. (Otherwise they would be your “dones”.)
You are Not done trying.
You are not going to let discouragements settle in your soul.
In the 60s, a lot of people, a lot of hippies got really carried away with y’know, doing things the old way, and it typically didn’t last. To do everything yourself, try to raise all your own food, and then they just got tired of it.
When I planted wheat, and went through the whole process, planting the seed to getting flour, it was just really complicated and I realized well you gotta do nothing but wheat if you’re going to do that and so I can’t be self-sufficient in wheat…
It’s a direction, self-sufficiency. … You do what you can do, as much of it as you can.
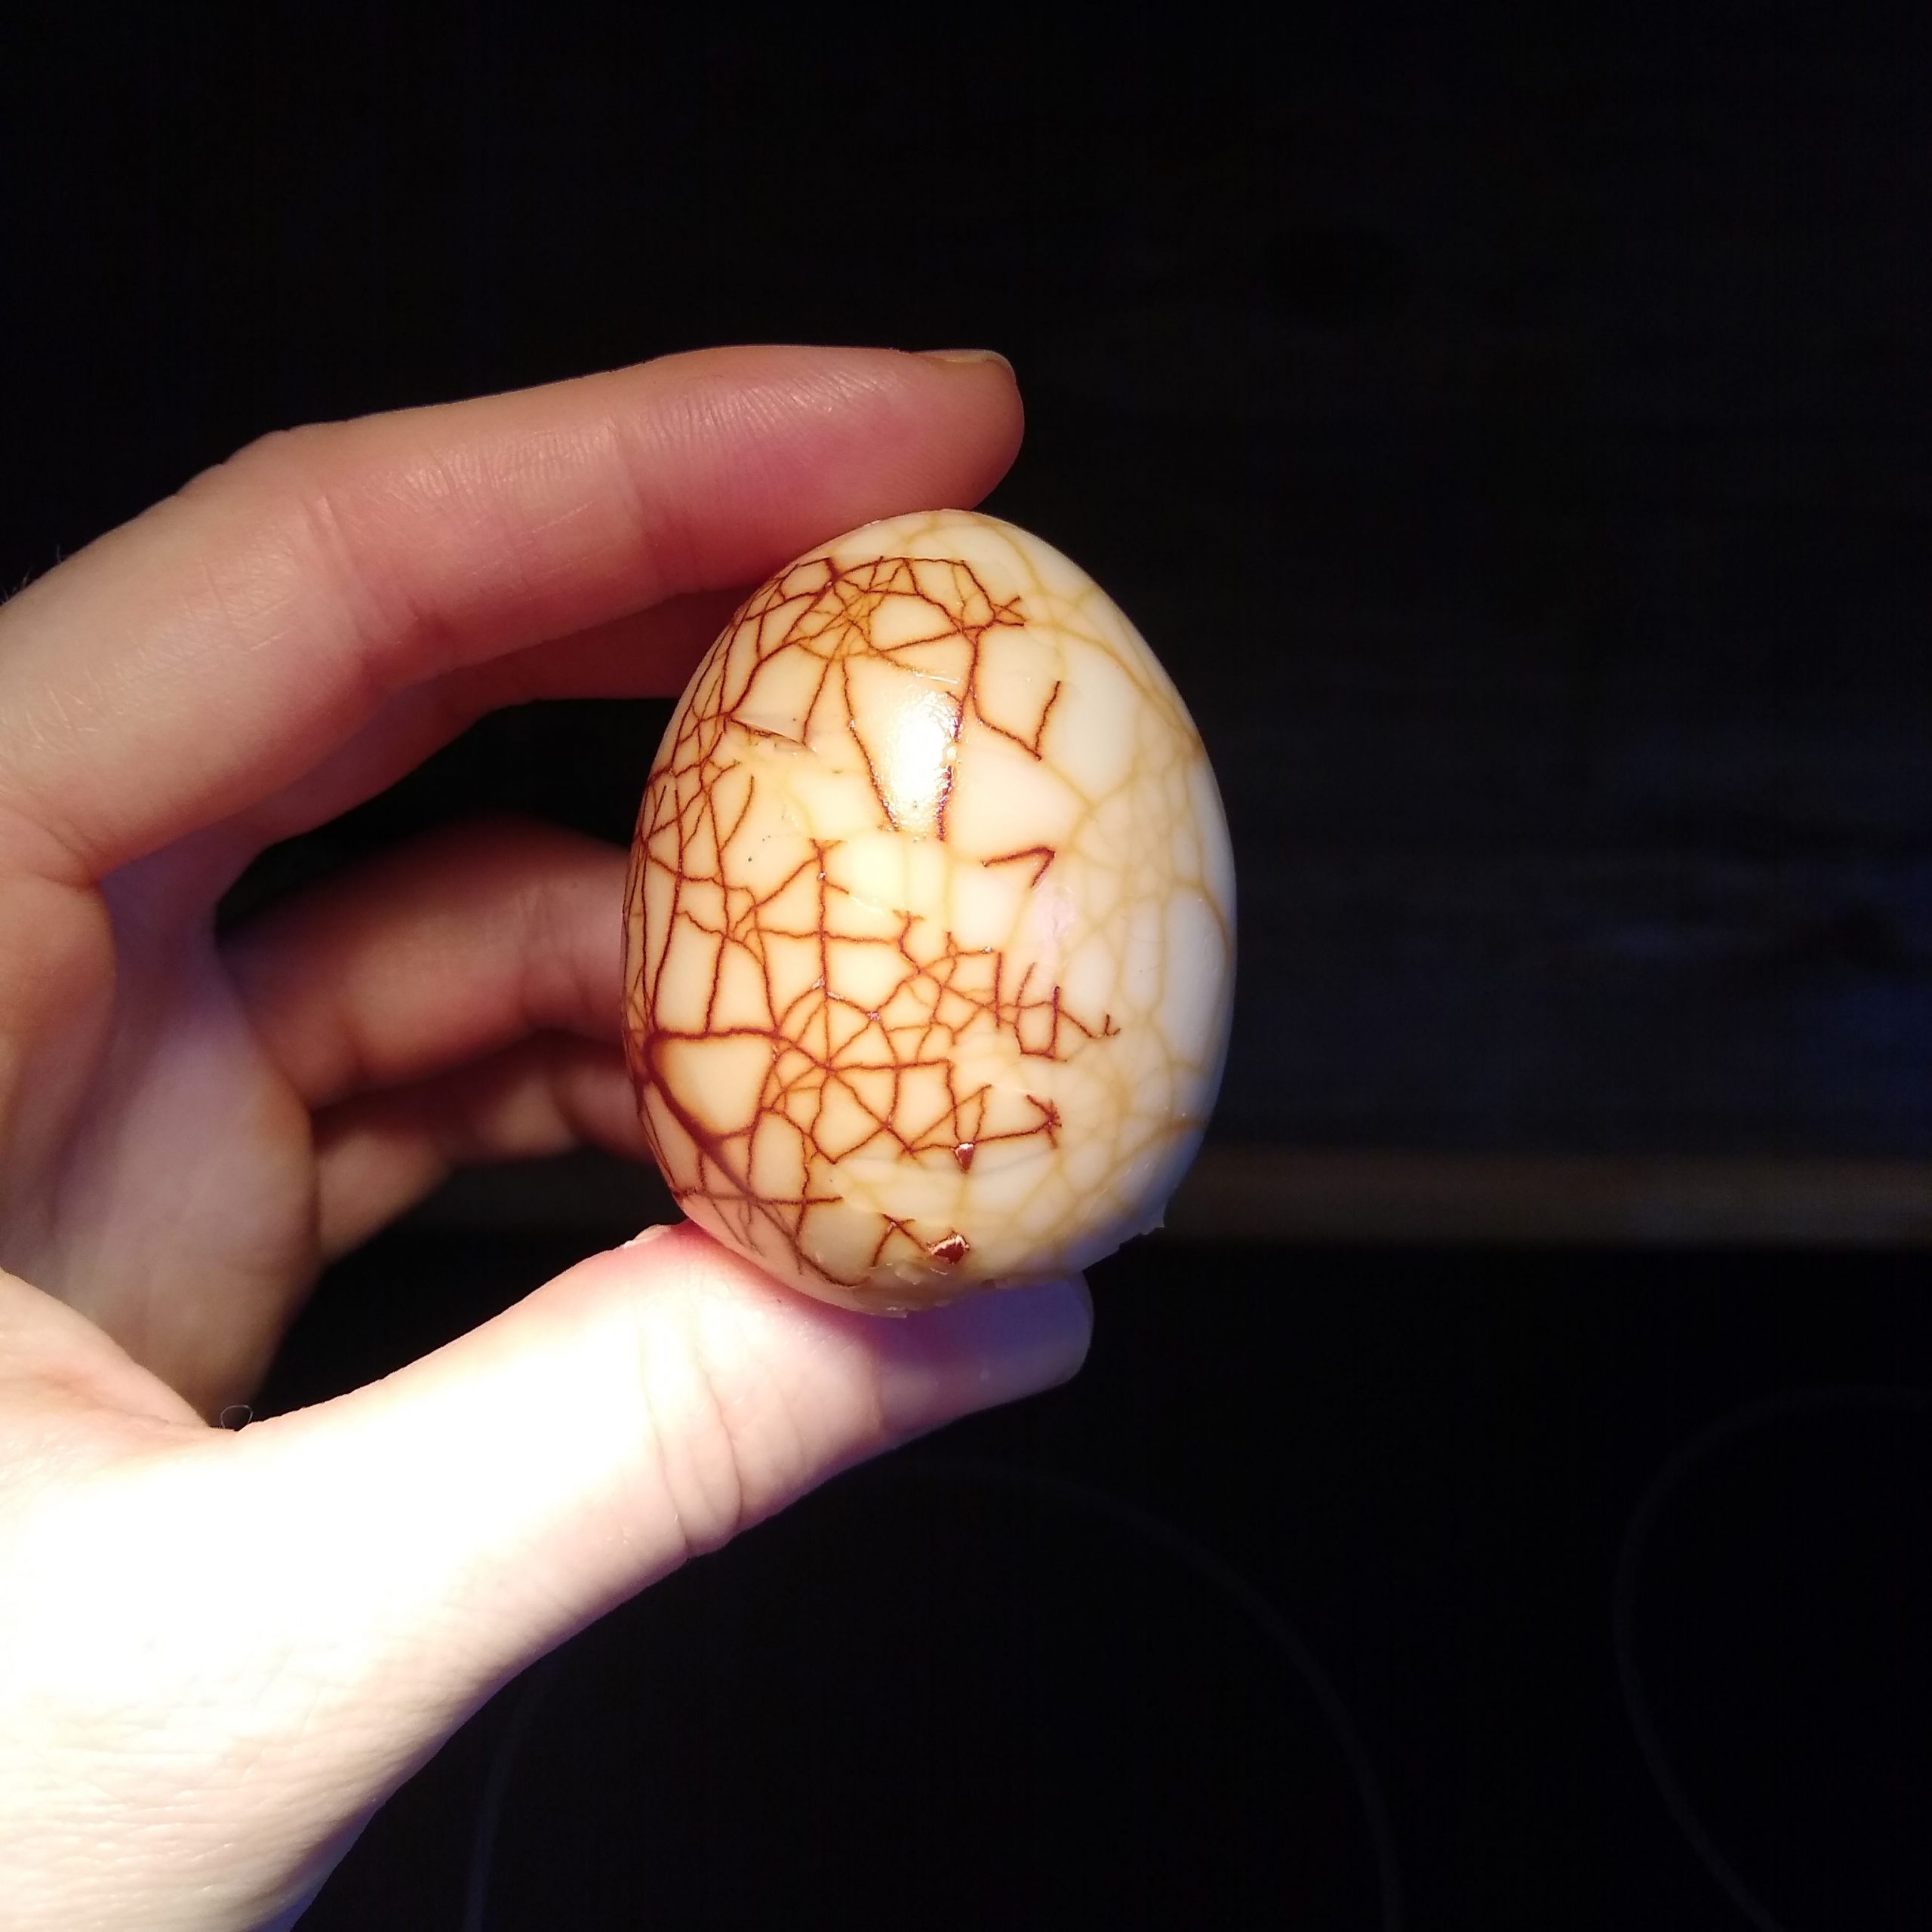
Is there anything more beautiful than a tea egg? Possibly… but in the moments I am gazing upon a tea egg, the answer is no. I mean look at it.
Beauty in the cracks
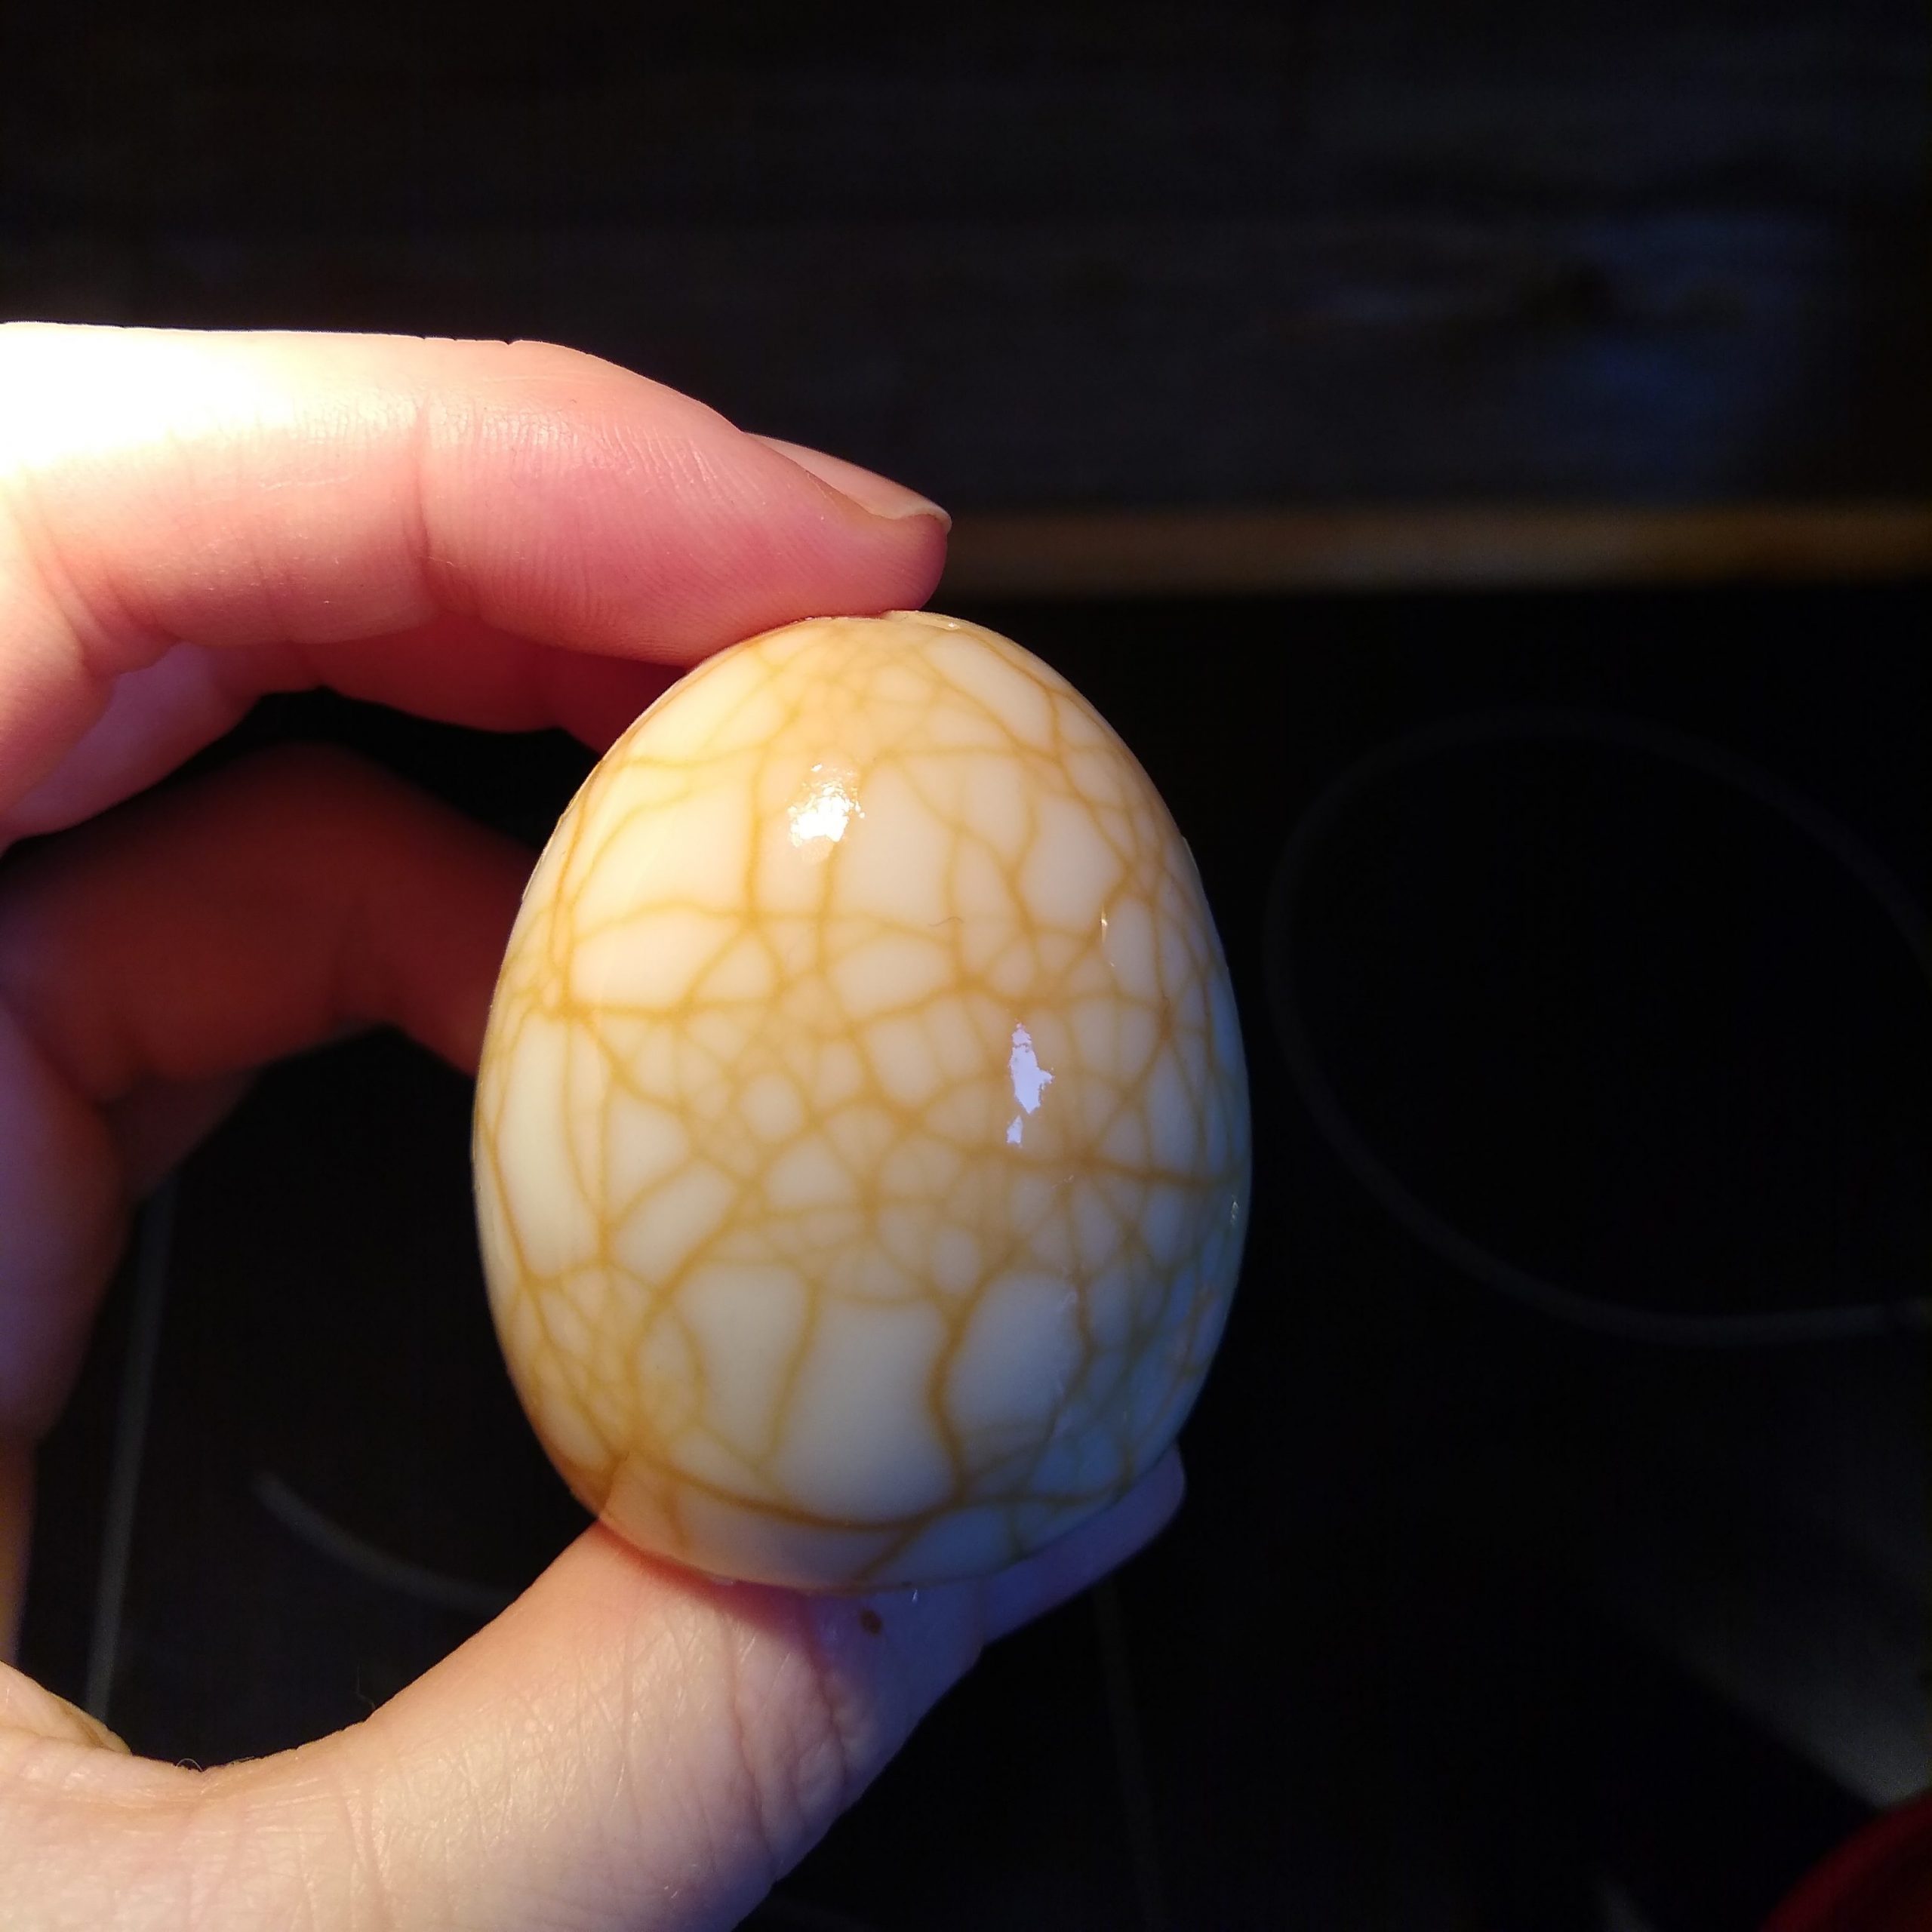
The first image up top is where I left the shell membrane partially intact — you can see how richly it shows the lines. But even fully removed, it’s strikingly geometrically randomly beautiful.
Low-poly egg
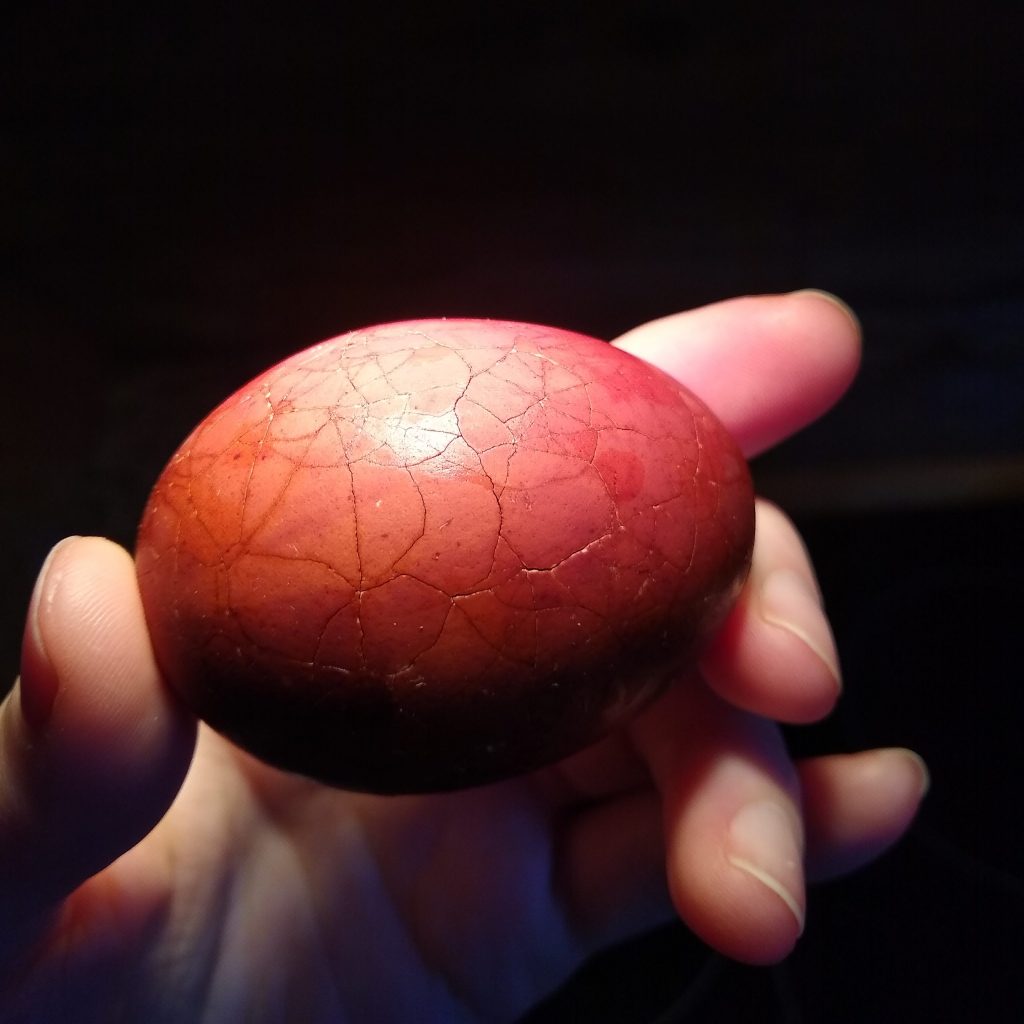
I use Signe Langford’s tea egg recipe from her book “Happy Hens & Fresh Eggs”. But you can find many other recipes online too. It’s essentially an egg steeped in a tea and spiced soy sauce mix, with the egg cracked just enough to let the colouring in.
In our life here we try to live closer to the seasons, which here often means “Kate is out following animal footprints in the snow again”. But while Snow Stories is a big part of any good winter, other kinds of making carry on.
Here is a little slice of the miscellanous making (like tea eggs) that add sparkle to winter’s darker days.
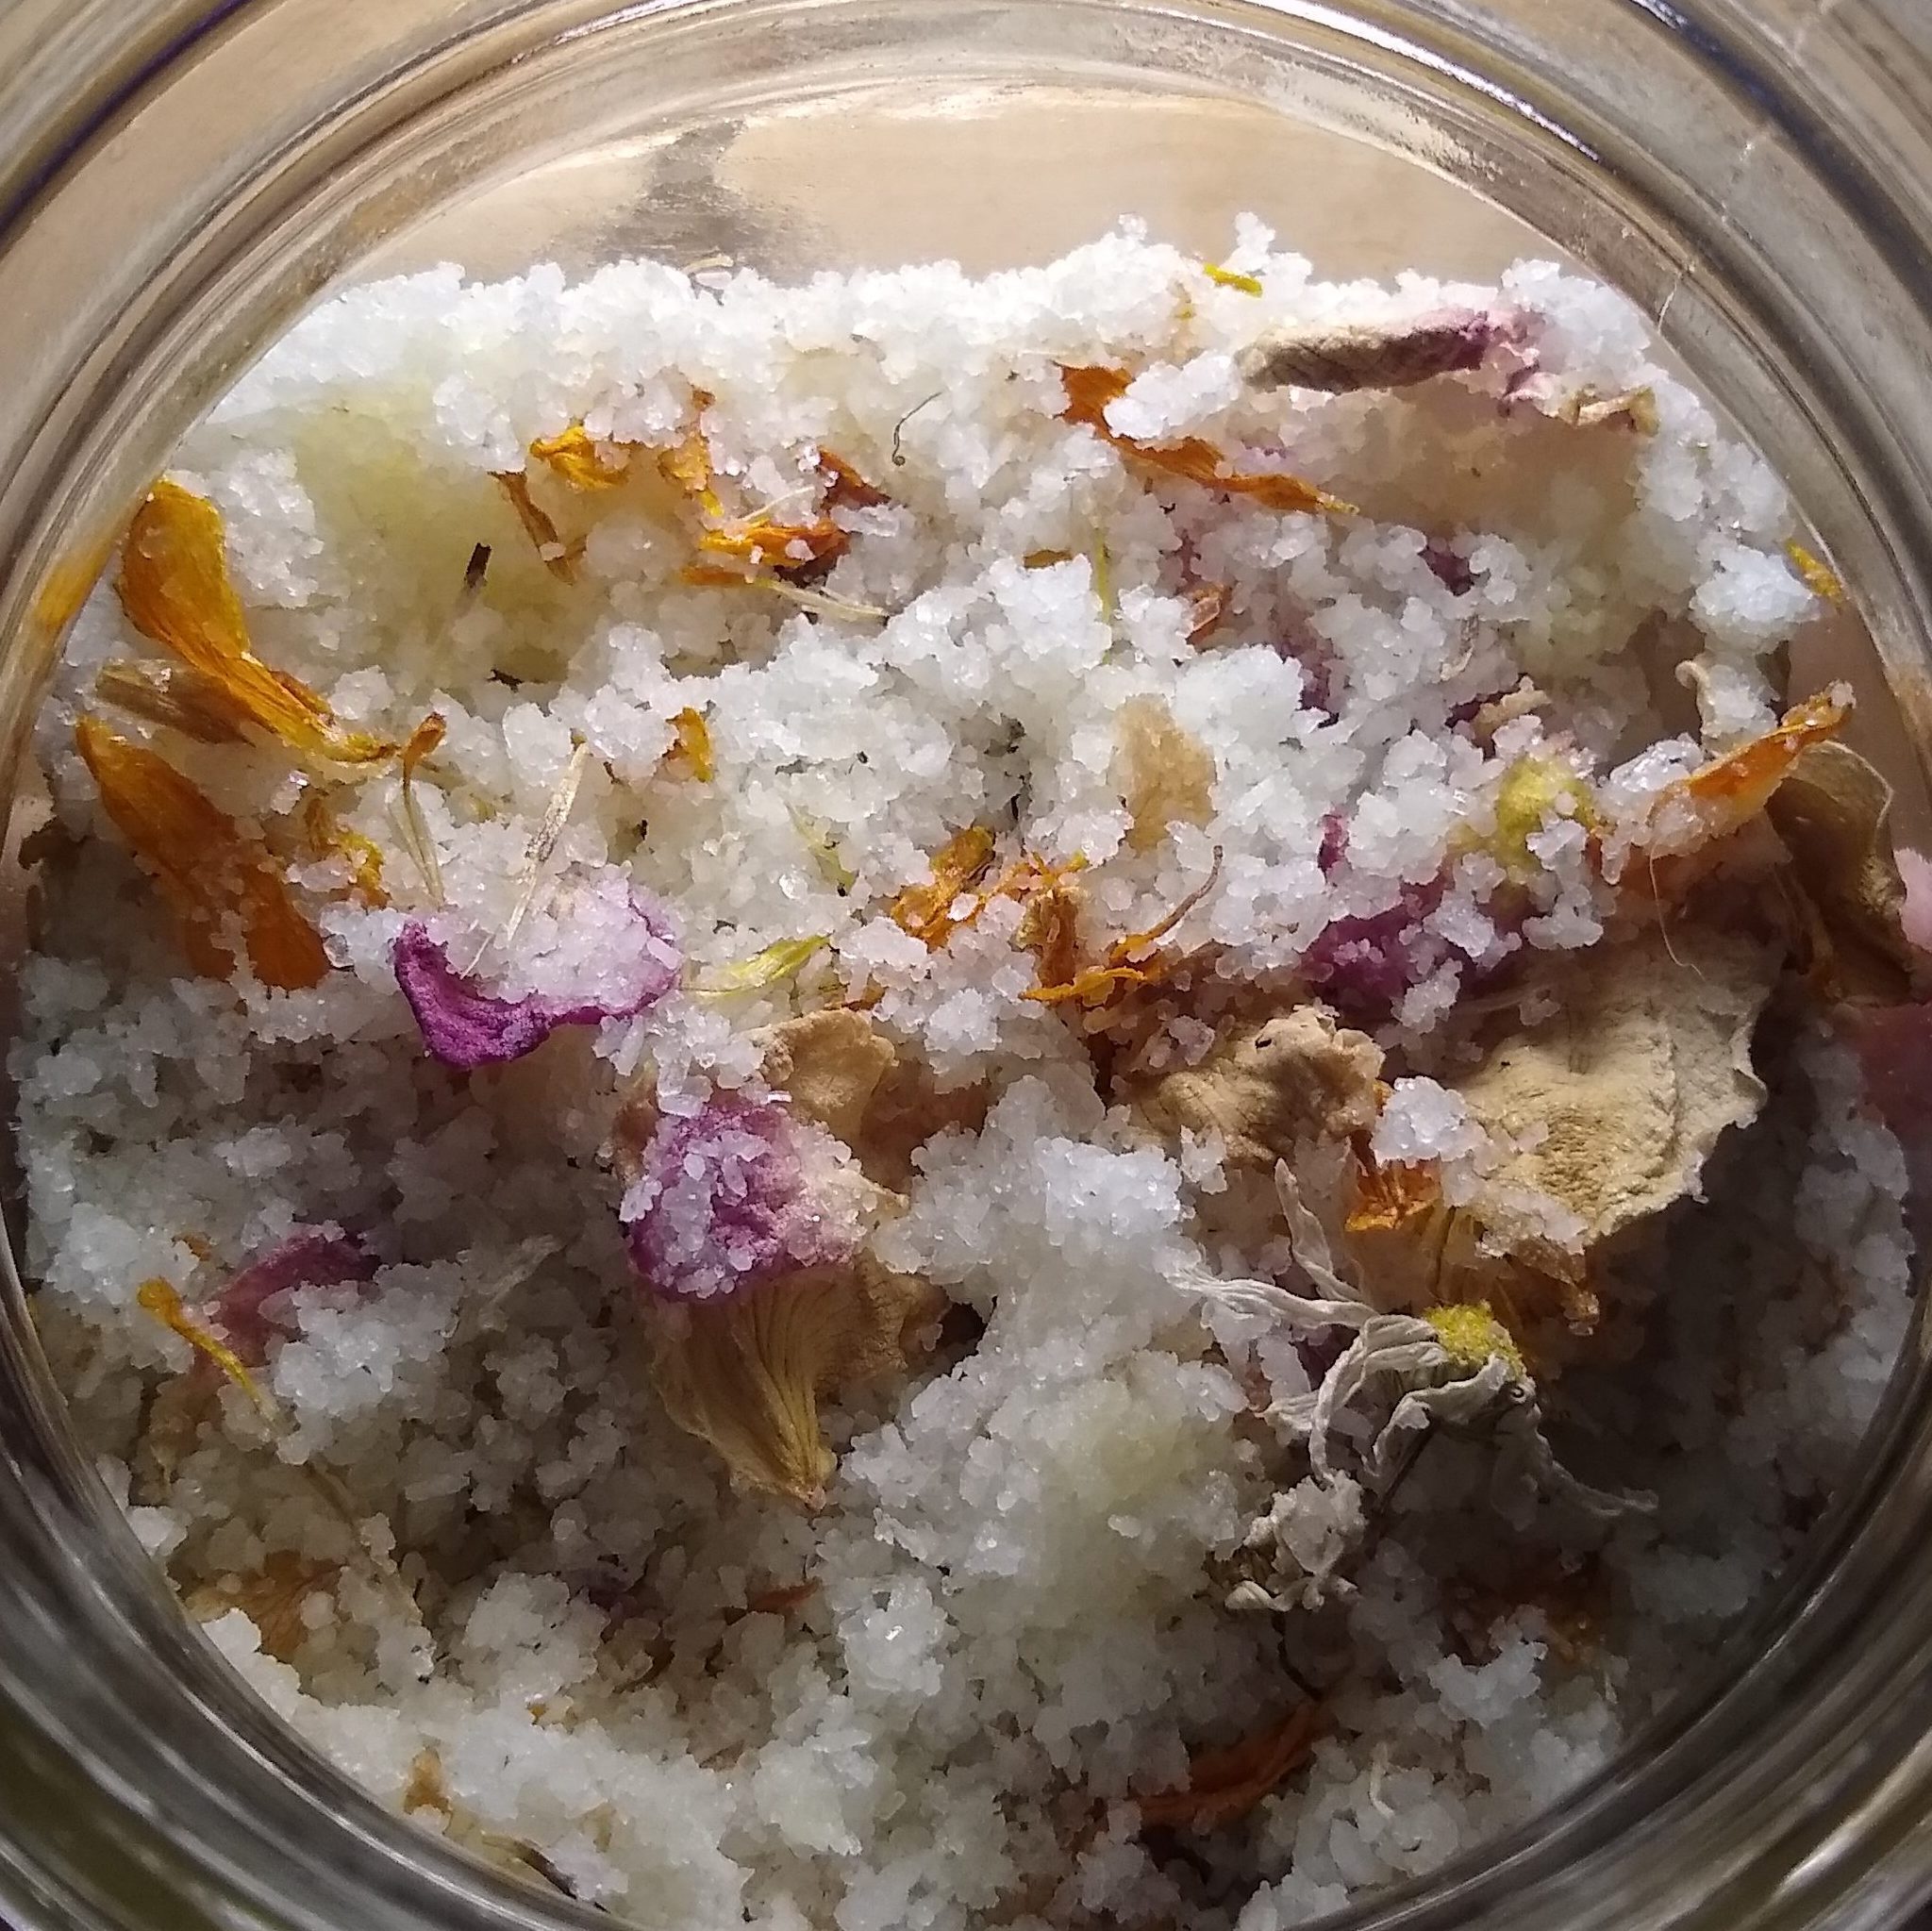
Bath Salts
Spring scents on snowy days
We ration how often we draw a bath here in the winter months. But it has been a mild and wet winter, and we’re not worried about the well, so a bath was on tap the other day (har har). But we were out of decadent extras to dress it up. Though a deep hot bath is a wonderful thing all on its own.
A number of years ago I adopted the habit of using “being out of X” as a prompt to try making it. Out of bread, try making bread, out of butter, try making butter, etc. So out of bath goodies… try making bath goodies!
I am as surprised as you are to find that we had everything we needed on hand. I have noticed this happen more and more often, as making projects dovetail one into the other.
I have been growing and drying flowers for a couple of years, not in ernest, but enough that I had a couple of jars already set aside for teas or destinations unknown. Apparently the destination for some of our flowers was a warm winter bath. Home grown and dried calendula, rose petals, and chamomile joined salts and oils in a homemade bath salt mix. Recipes are easy to come by — just look for a bath salts mix that takes advantage of something you might already have on hand (dried flowers, essential oils, etc). You can also make a very nice nourishing bath from oats. It all depends on what you have in your cupboards.
Nuts To That
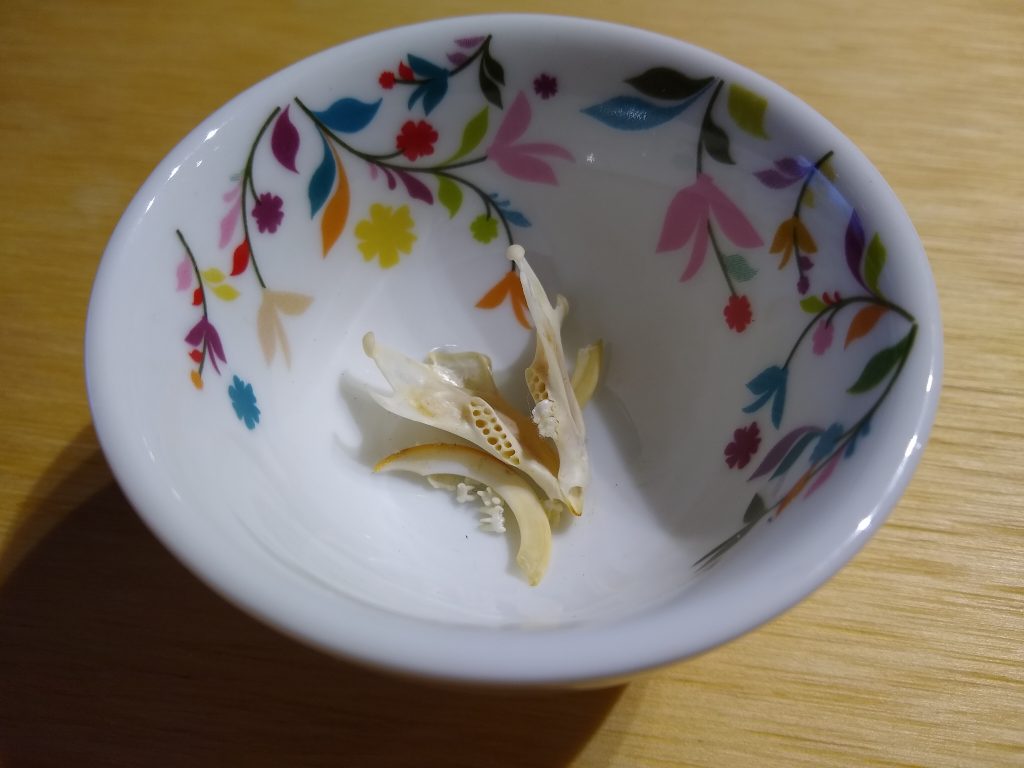
There is no segue between a floral bath and a squirrel’s jaw bone, the next maker activity, except that both interest me, and both occupied some of my leisure maker time this January. Last year I was gifted a squirrel jaw and unattached teeth. (Some people really know me…) It was from a person who prepares skulls to use for educational purposes, and sometimes he ends up with a backlog to process. He offered it to me, when I lit up at the possiblity of trying to reassemble it: “Like a puzzle!”
This pretty little bowl was originally an incense holder, from the wonderful Art.27 in Toronto. You never know where repurposing may take you…
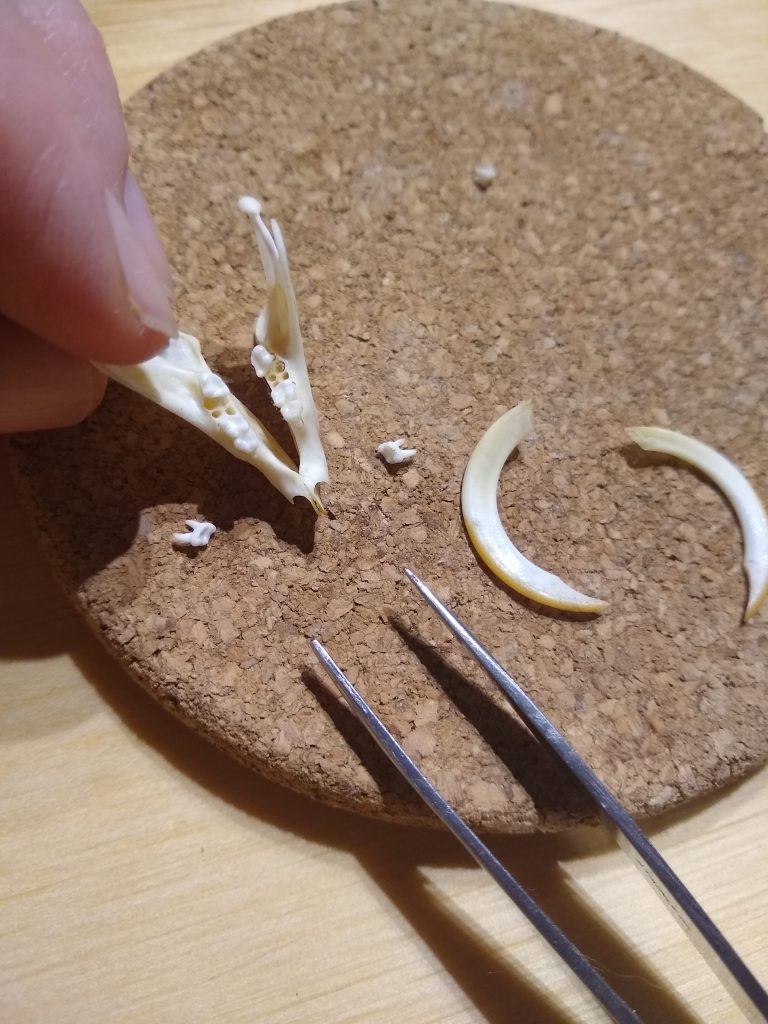
Though it had taken me over a year to pick it up and give it a try, it actually went incredibly quickly. Though it makes perfect sense, of course there is only one tooth that will fit in each spot. And even more so than with a puzzle, the small irregularities, the individual details, tell you exactly where each would fit. Roots that were longer or shorter, closer together or further apart.
He had actually given me more teeth than belonged to this jaw, having given me definitely the ones that fit plus any extra he had. I will set the extra aside for the squirrel tooth fairy (how cute would that coin be…).
The squirrel dentist will see you now.
Fresh Eggs, Fresh Pasta
Jaw reassembled, on to more maker activities. I always like to squirrel away a few extra staples here in the winter (there’s that segue…). In case of bad weather, or just the need for extra fuel on chilly days. We make most of our meals from scratch, and have replaced many of our basics with homemade recipes. Bit by bit the homemade list gets longer. It was not always like this — we used to live in a city where take-out was easier than grocery shopping, and small kitchen cupboards only held so much — but like any maker-ing, it’s all about practice, creativity, and diving in.
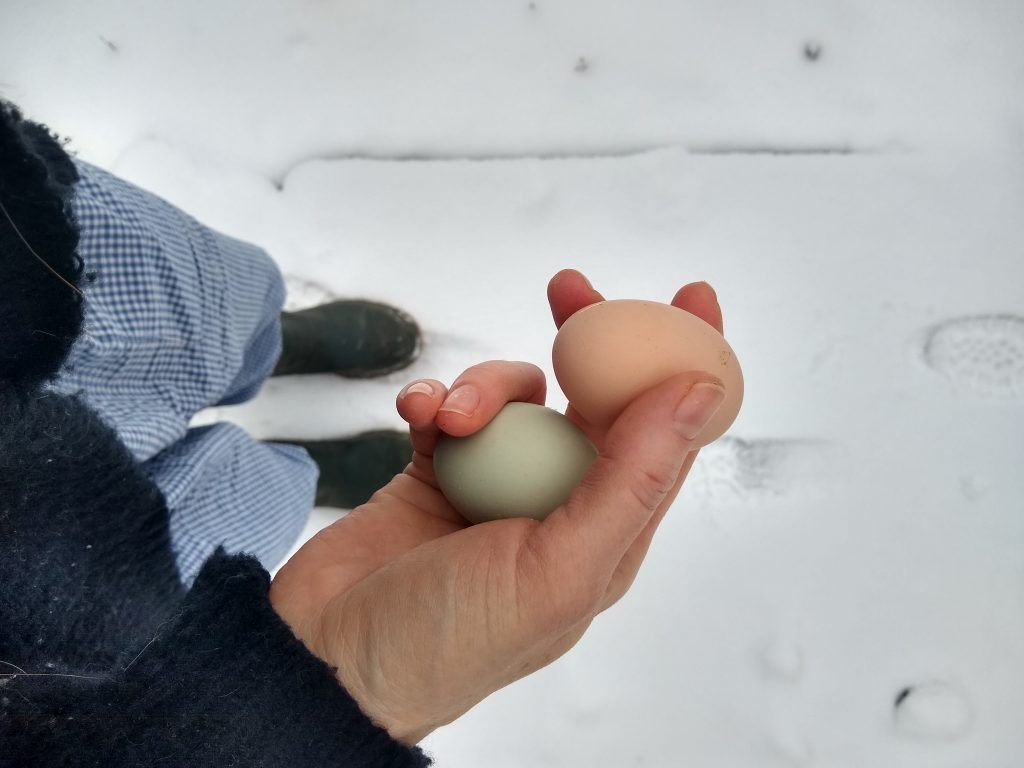
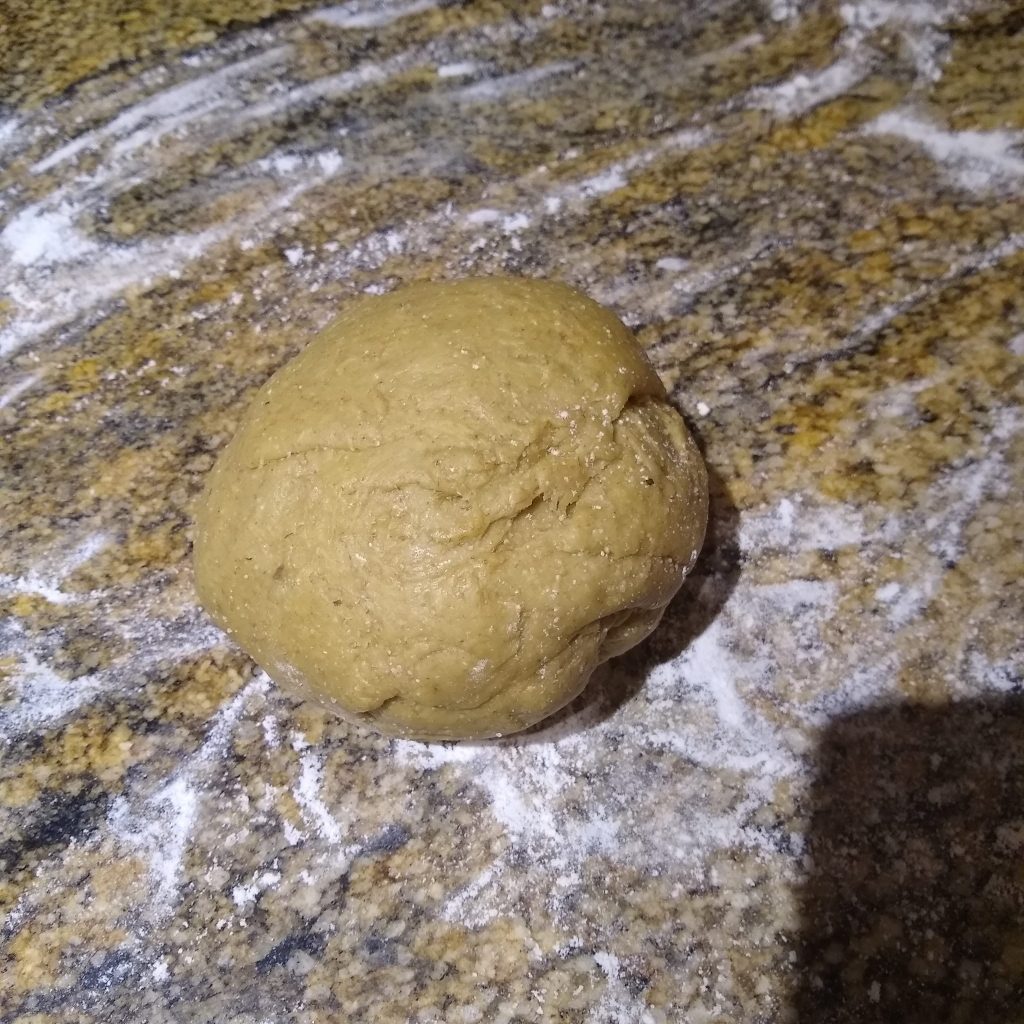
I don’t always make our pasta, but its a nice treat every once in awhile — especially when fresh eggs are available. Our “baby” hens have started laying, so winter eggs are on the menu!
You can find fresh pasta recipes all over the internet. My most important note here is that we don’t have a pasta machine of any kind, and it’s no problem. (I am a low-gadget gal.) I use a rolling pin and a knife to make ours, and it turns out just scrumptious!
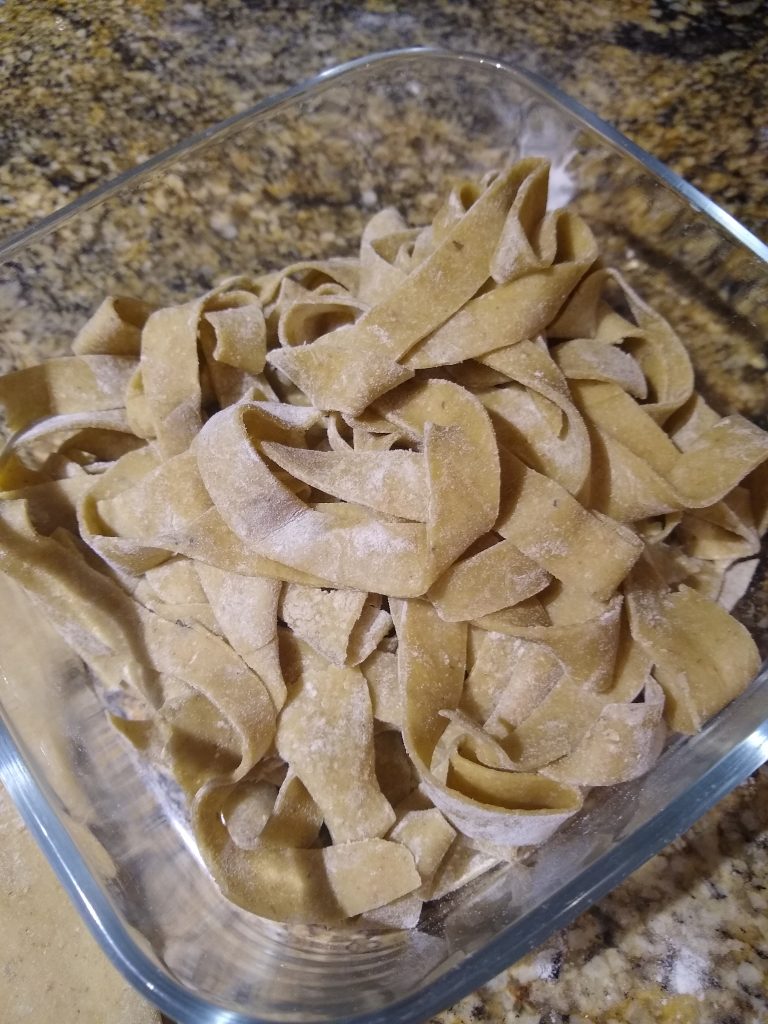
Noodling around in the kitchen
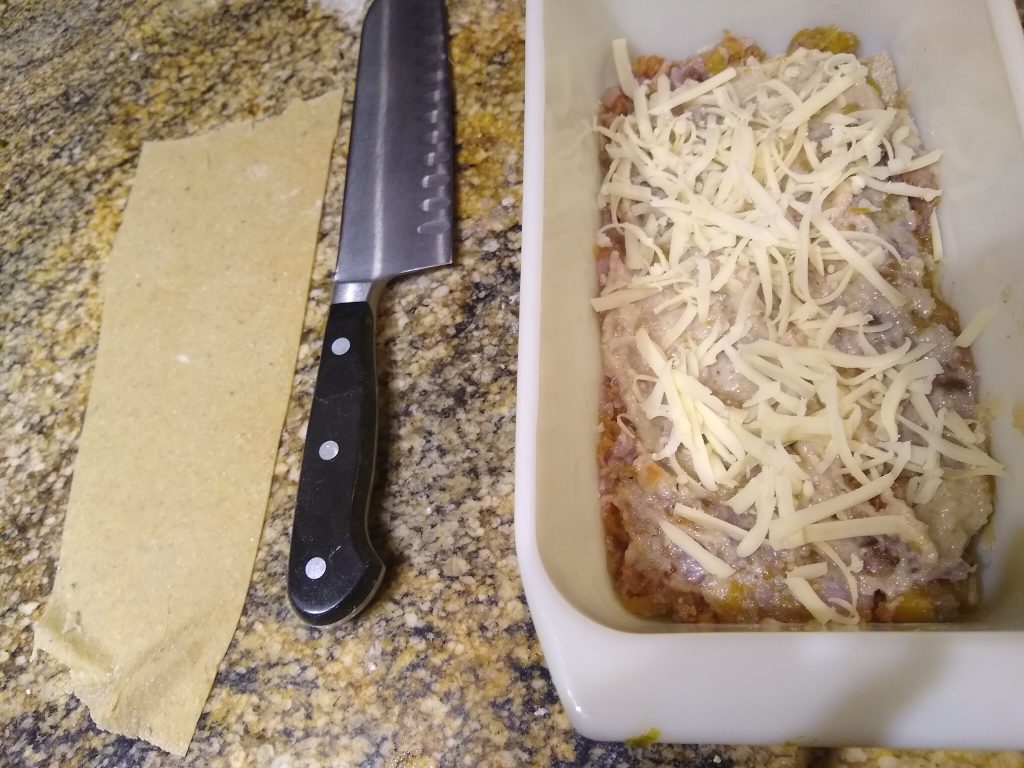
If we made pasta frequently, I might get a roller, but if you just want to give a try, you don’t need any extra tools. I added oregano to this batch, because why not. A little nod to the green shell of the easter-egger eggs it’s made from. I made up half as noodles, and half for lasagna — for weeknight meals for just the two of us, we make little lasagnas in loaf pans.
Drop the Beet
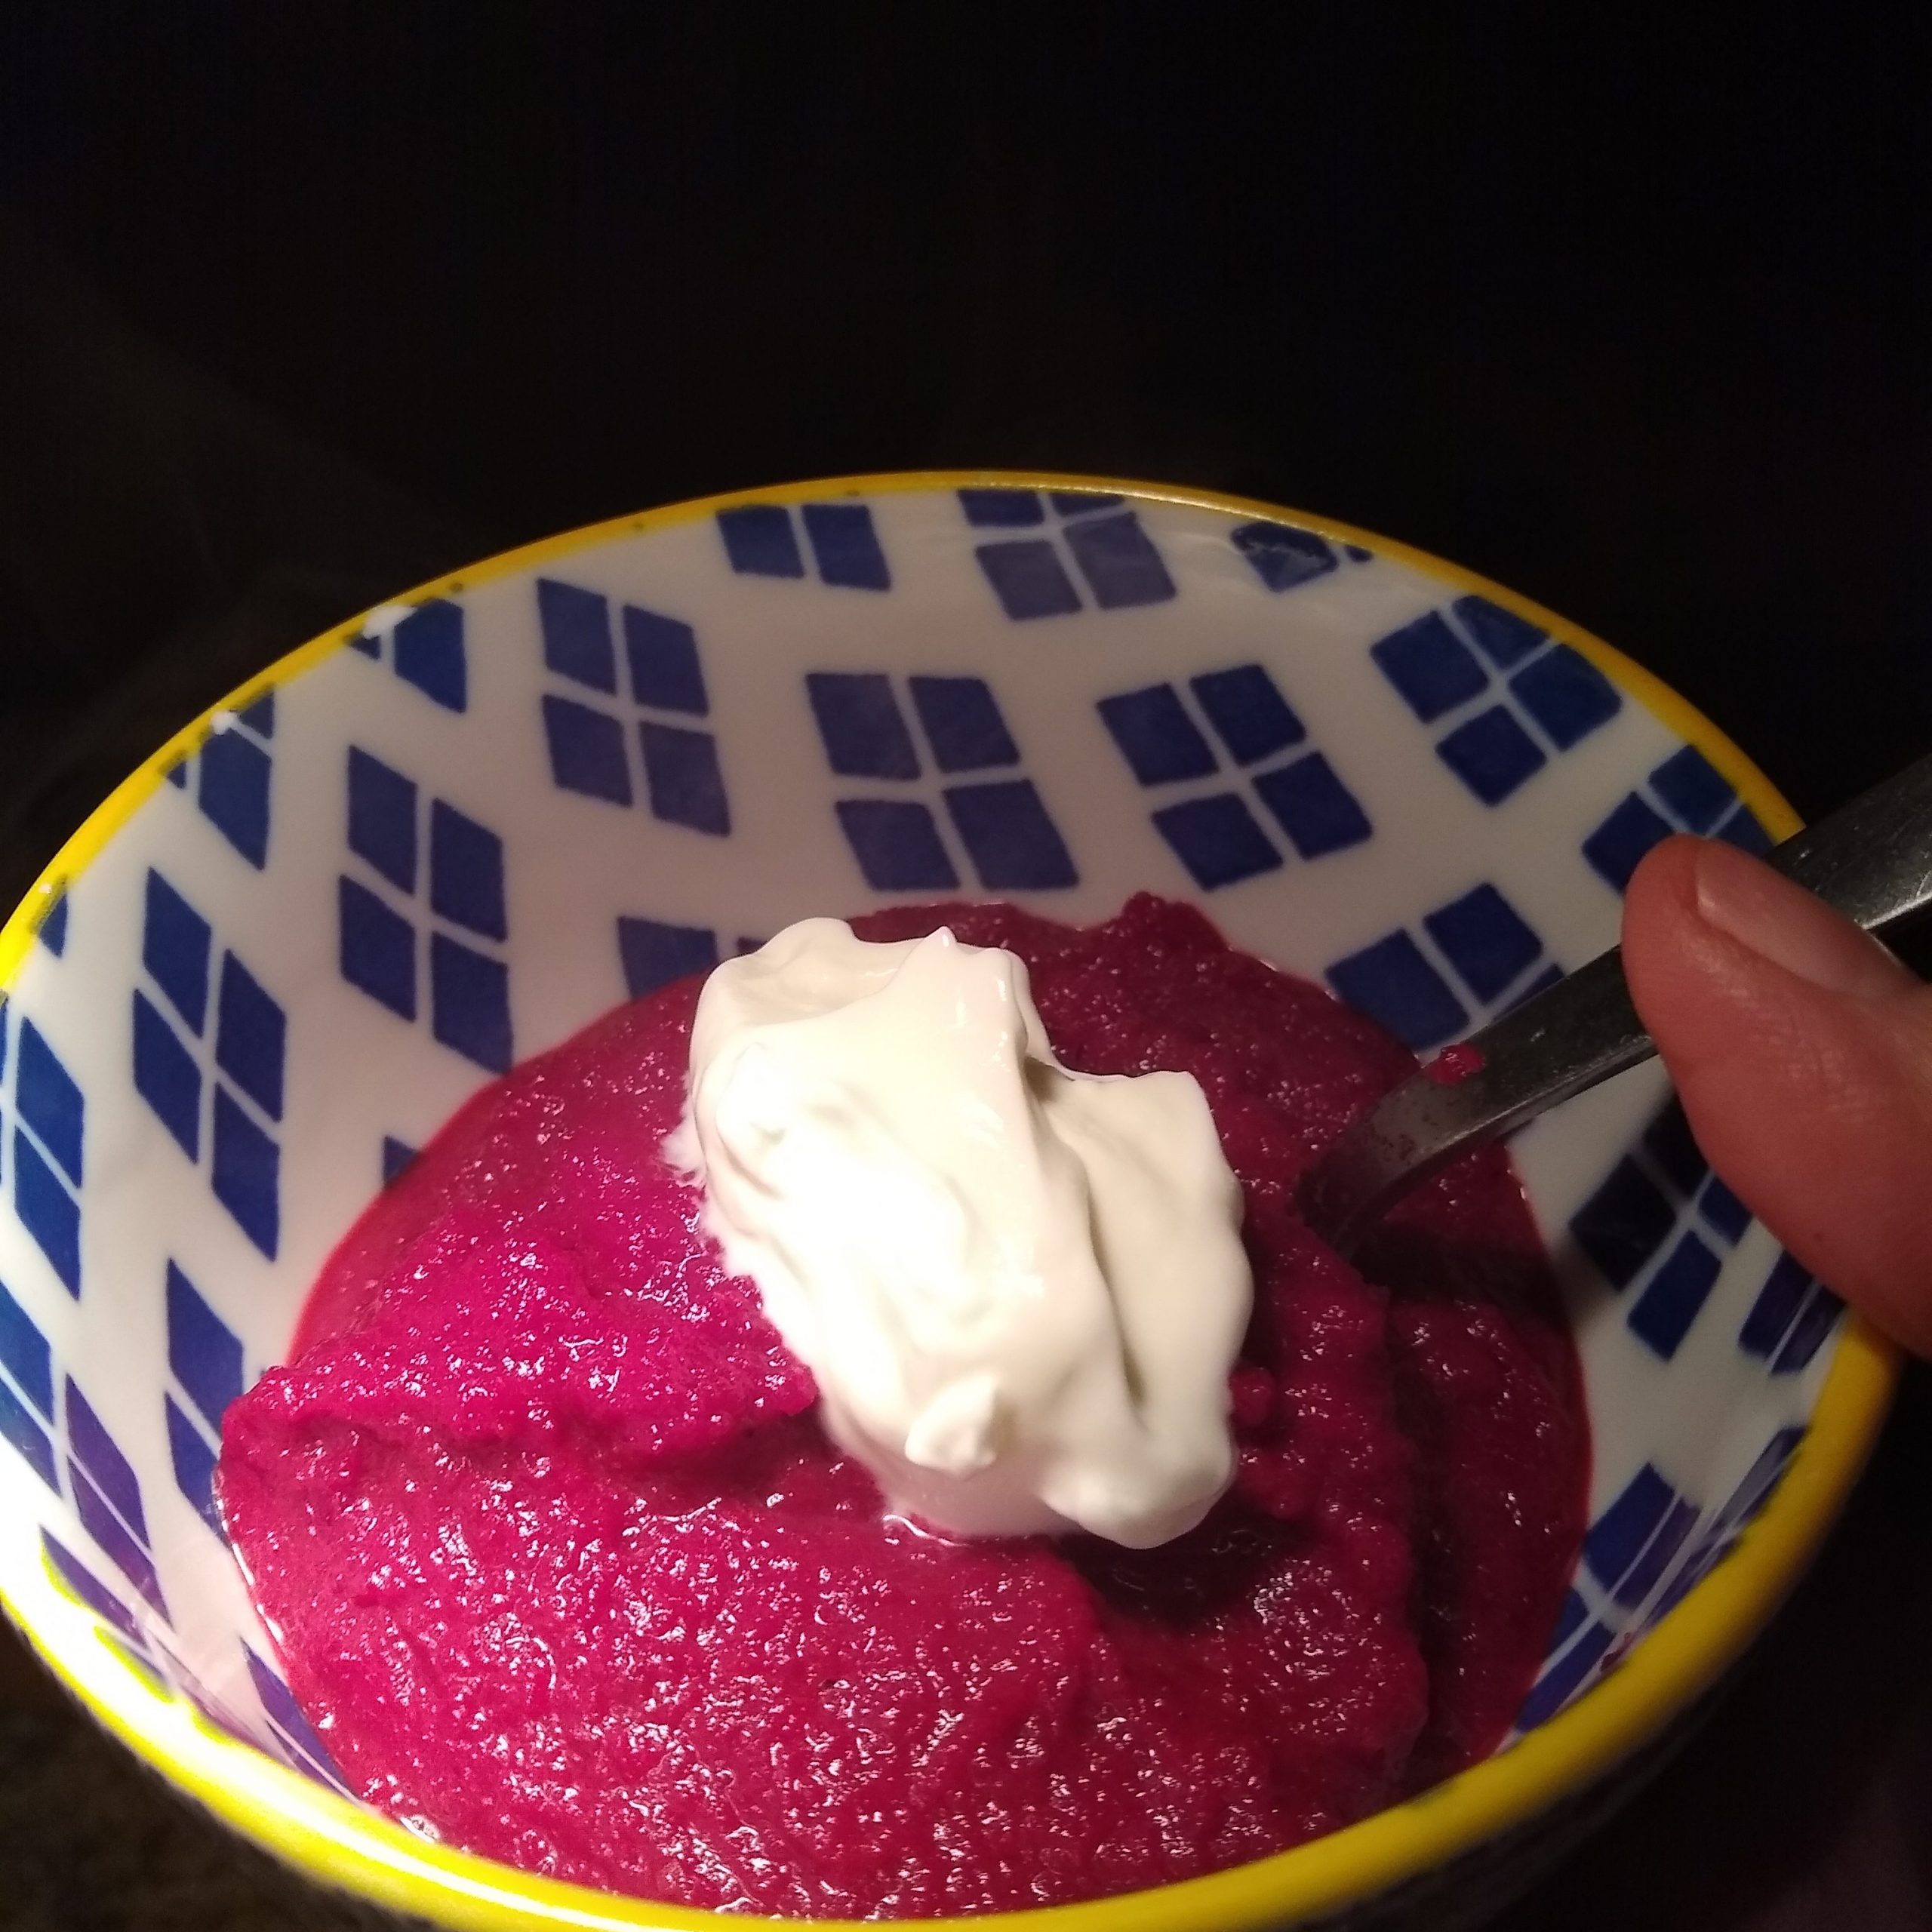
We belong to a Winter CSA this year, with Footstep Organics. We are loving still eating seasonal local veg well into the winter. I’ve really enjoyed how it’s led me to think of root veg completely differently than I once did (there are many stealth veggies in that lasanga up there). I can sneak lush colourful roots into a surprising number of dishes. I recently made beet and carrot muffins, but below is a more traditional warm beet soup… though you’re not wrong if you think it looks like raspberry gelato.
I also recently popped all manner of winter veg into barley buddha bowls, where they paired deliciously with an indulgent avocado and a peanut-y sauce.
Pasta Sauce and Punch Lanterns
Every two or three weeks, I make a double batch of my family’s meat spaghetti sauce. Here it is just after I decided to add in some of the dried celery leaves I saved from last year’s garden. This sauce is the ultimate comfort food, and finds many homes here. We pop it into baked squash, topped with broiled cheese. Use it as a lasagna layer, or just nom it over noodles.
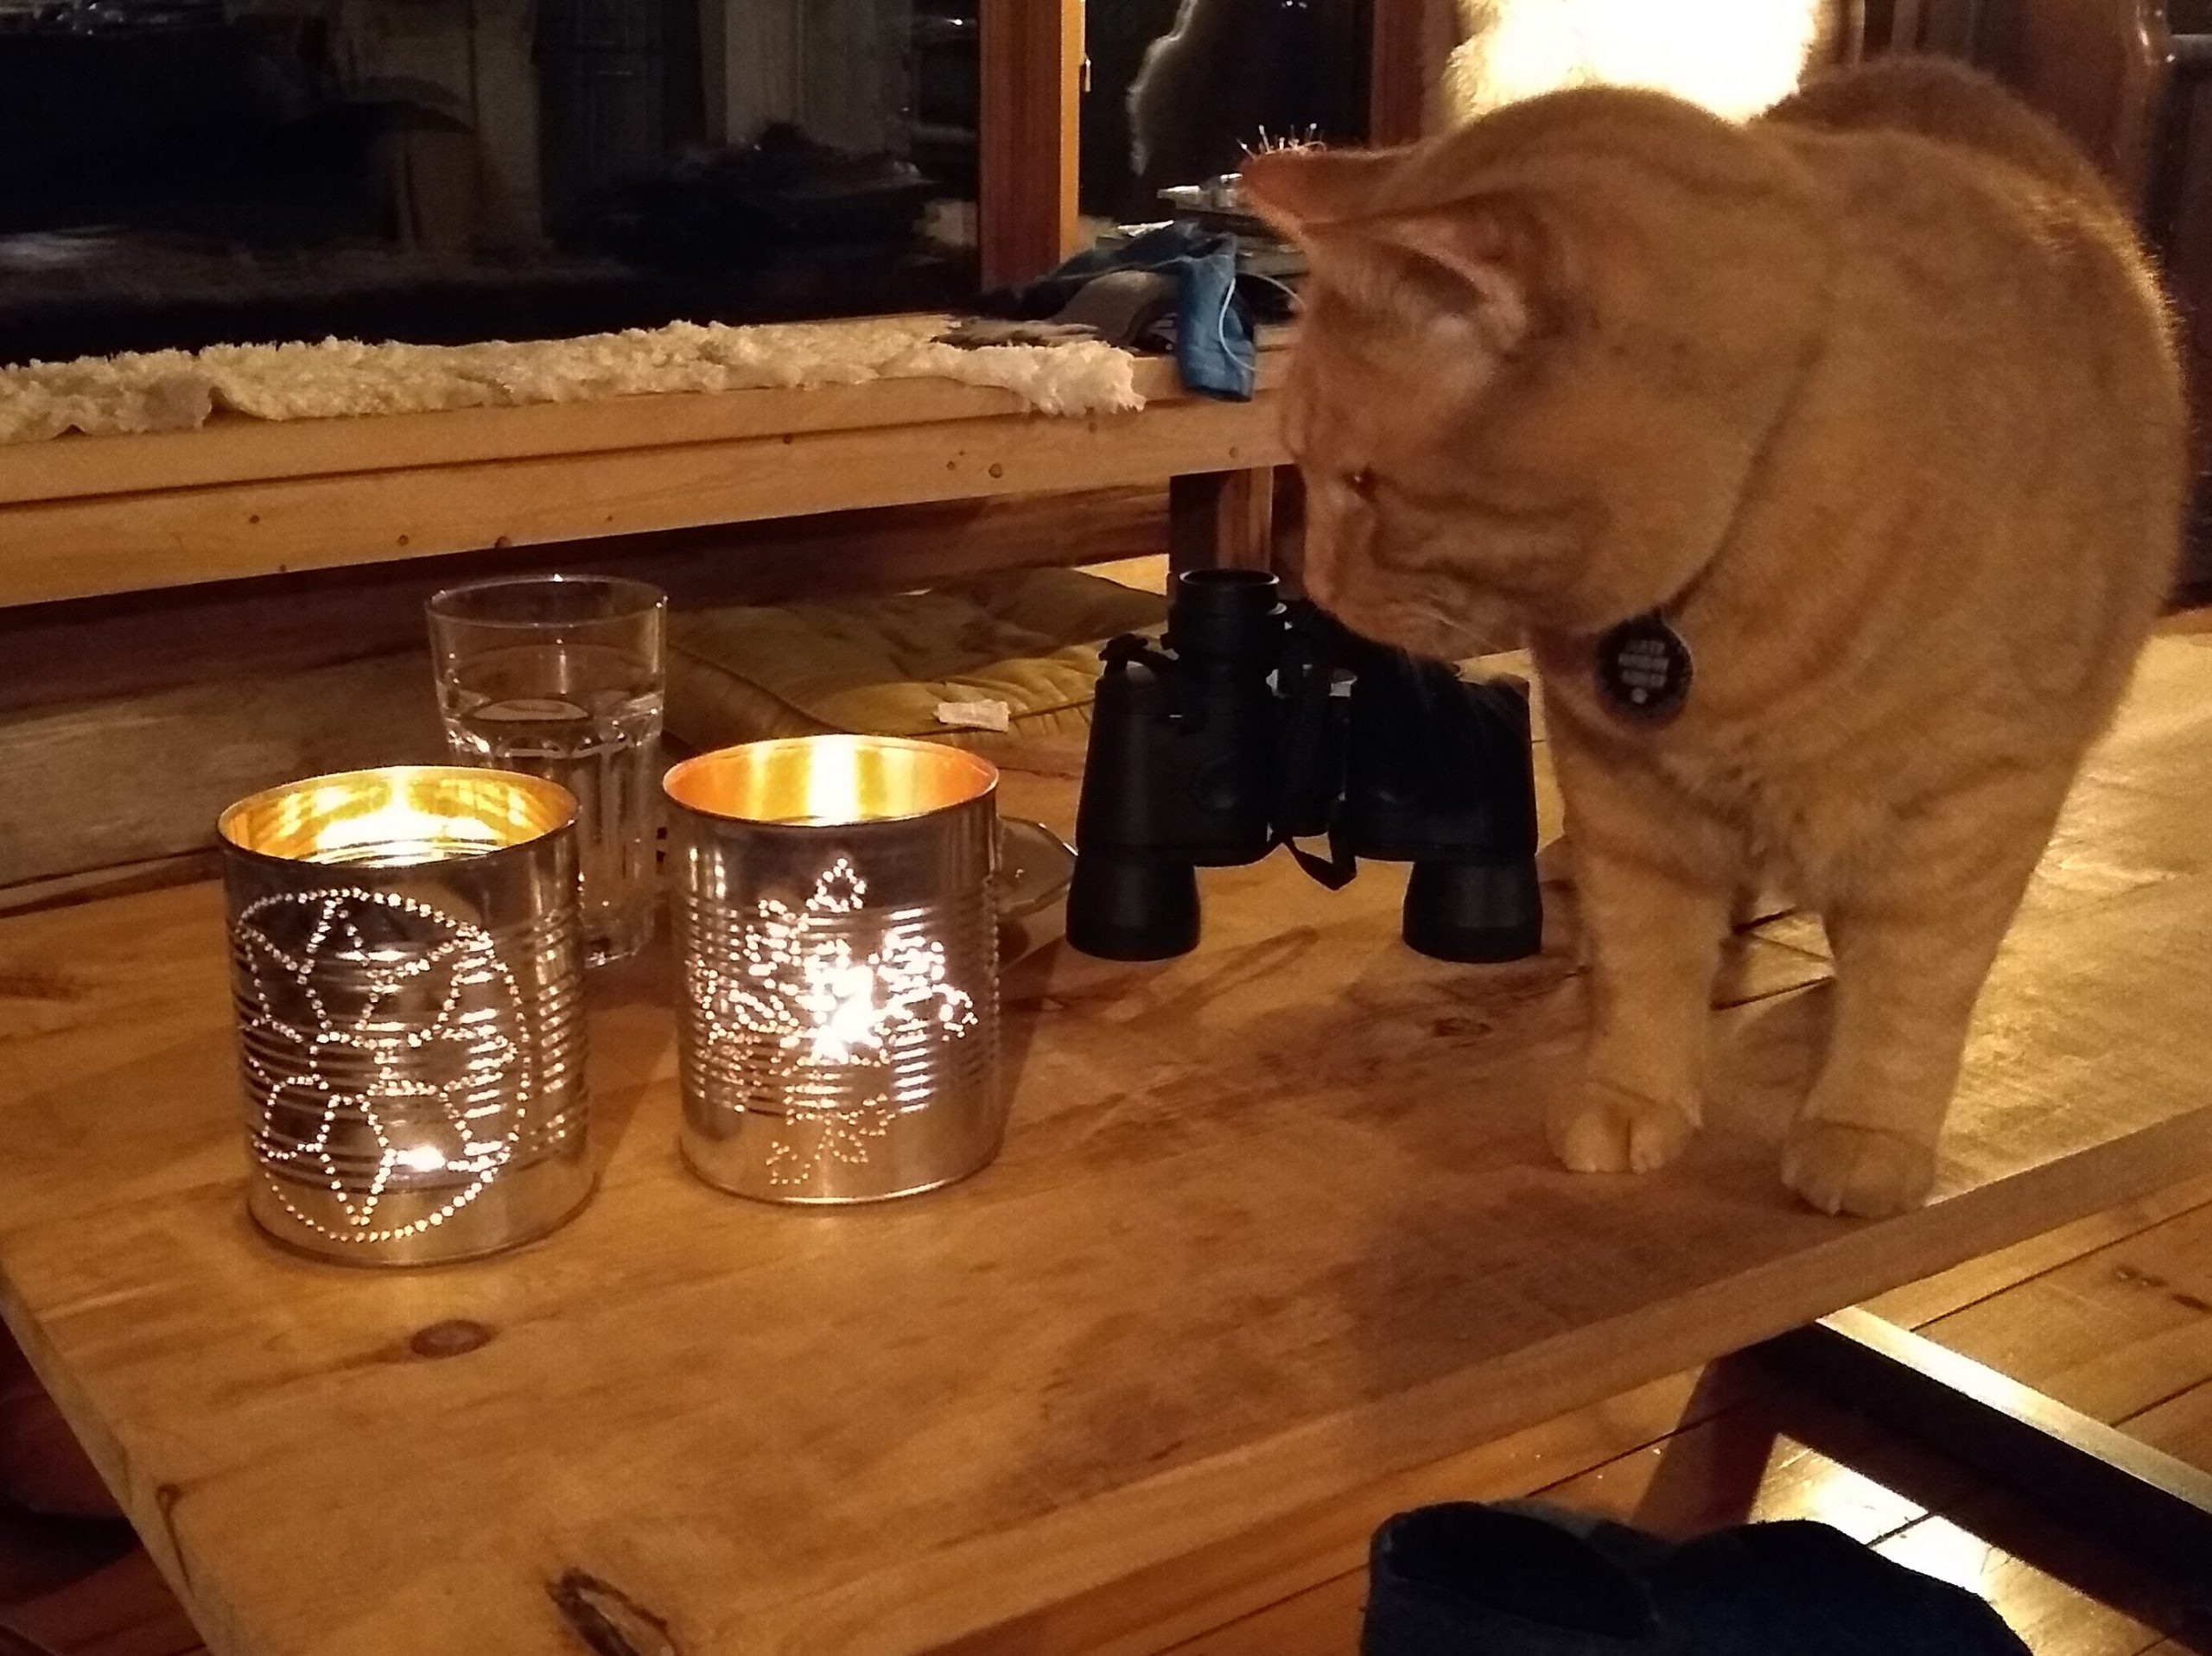
Making spaghetti sauce also means freeing up tomato tins, which means… making more tin-punch lanterns!
This one did turn out beautifully, but the simpler design of the first one I made was stronger when lit. For tomato can lanterns, simple is best! I use two cans per batch of spaghetti sauce, so our house should be very well lit by springtime. 😉
Oliver, always helping.
Sumatran Street Food
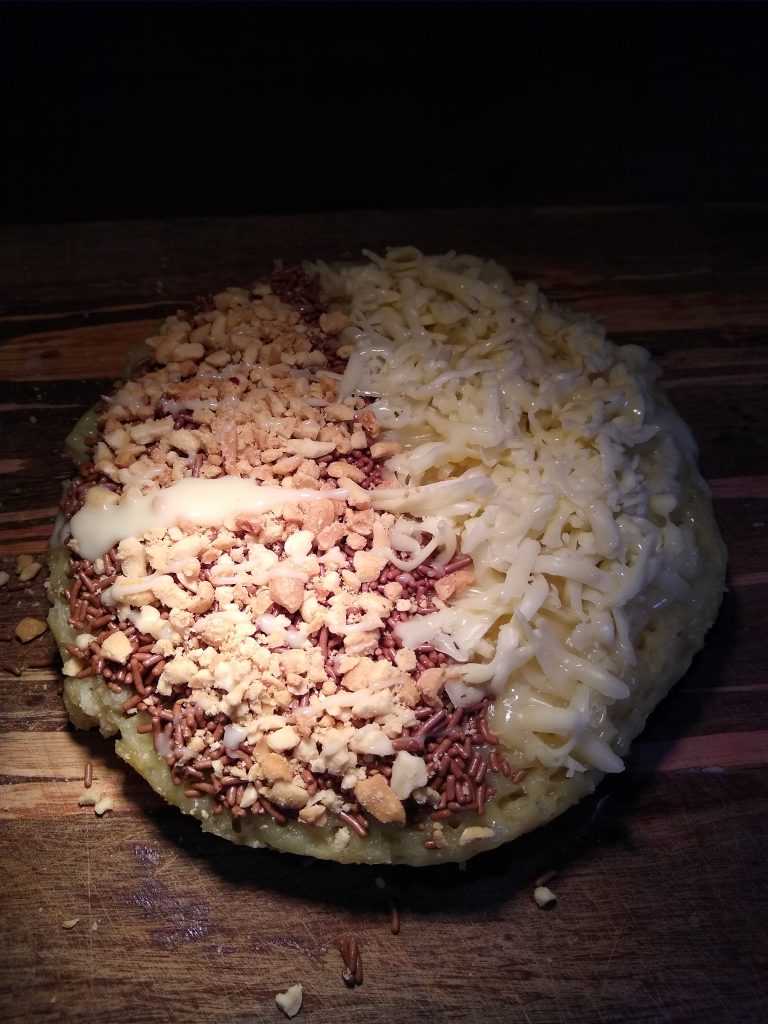
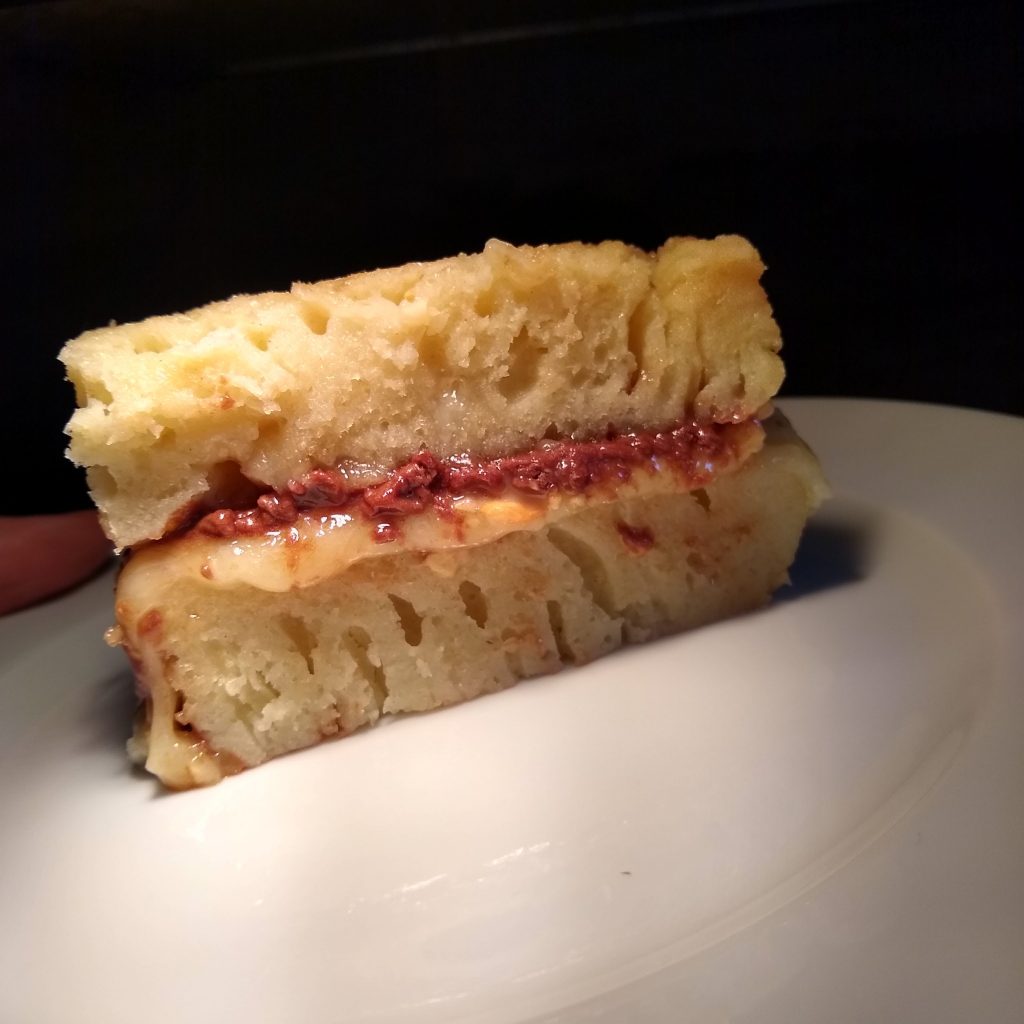
My favourite surprise kitchen experiment this month is definitely homemade martabak manis (following this recipe). I went to live and work in Sumatra for a year when I was 18, and flavours of Indonesia still taste like home. I have thought of martabak manis often, but have never thought to recreate it… until now. Though it is a street food, it turned out to be a very do-able if very decadent recipe for a home kitchen! I have a lot of room to grow in making it better, but wow was it ever delicious even on the first try.
I topped ours traditionally, which is to say, with everything. Chocolate, peanuts, condensed milk, and yes, cheese. It doesn’t sound like it will work but boy-howdy does it ever.
Good Fences, Good Neighbours
Now out of the house and up the woods. Stewarding our woods means maintaining healthy boundaries. Tracks in the snow showed that we recently had a bit of accidental trespassing by a friend of a neighbour. Though we cleared it up in person when he returned the next day, we did take the opportunity to “touch up” the fence.
We are fortunate to have good neighbours on all sides, but/and we each take different approaches to managing our properties. Some allow hunting, others gather firewood. Good fences help make it possible to ensure no one is stepping on anyone else’s toes. It’s a topic for another day, but what looks like great firewood to one person might be a snag full of cavities and nests that we are deliberately preserving. So a little work on the fence to keep things clear when we’re not around.
Attaching a strand of wire to one of the new fenceposts
Sweet Sour Dough
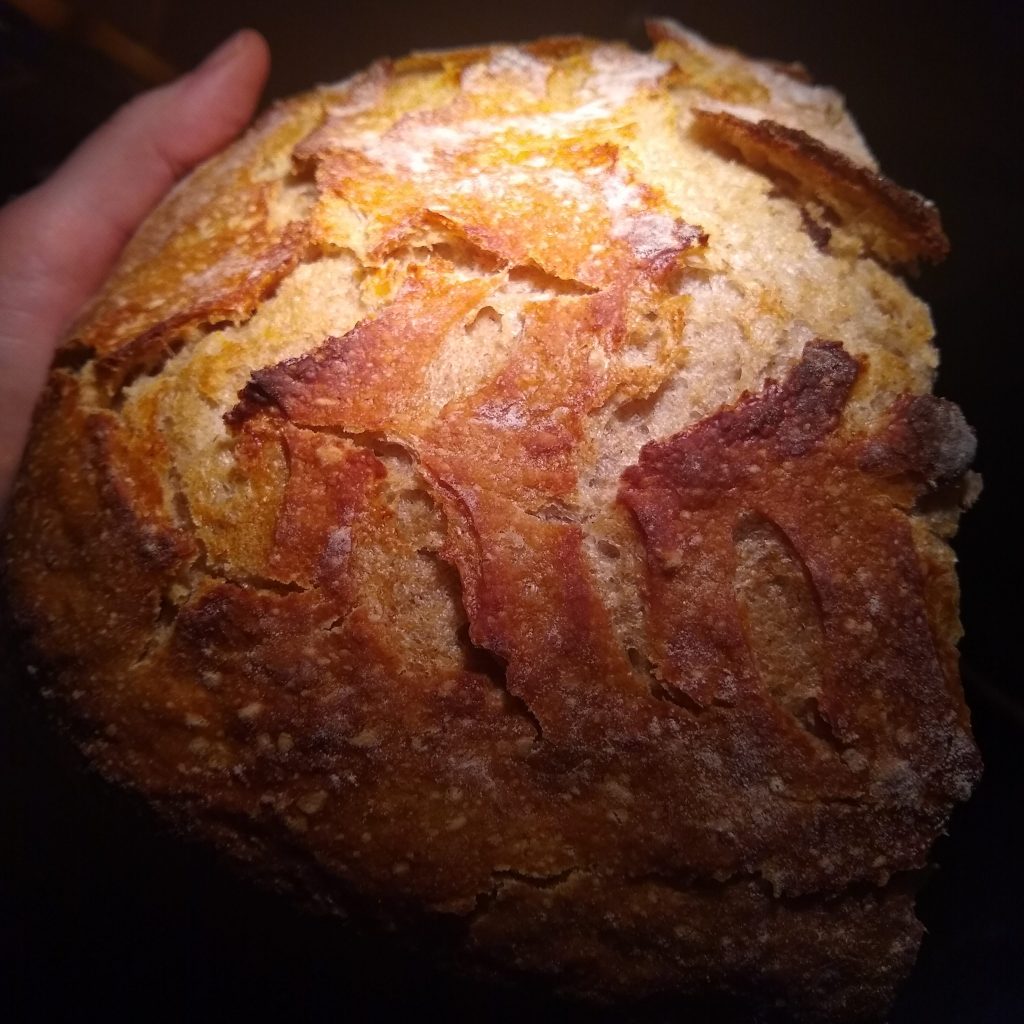
Back at the house, bread making continues. I woke up the sourdough starter again to make myself a loaf.
She was a real beaut! And you can aaaaalmost see the design I tried to slice in before baking. Getting closer!
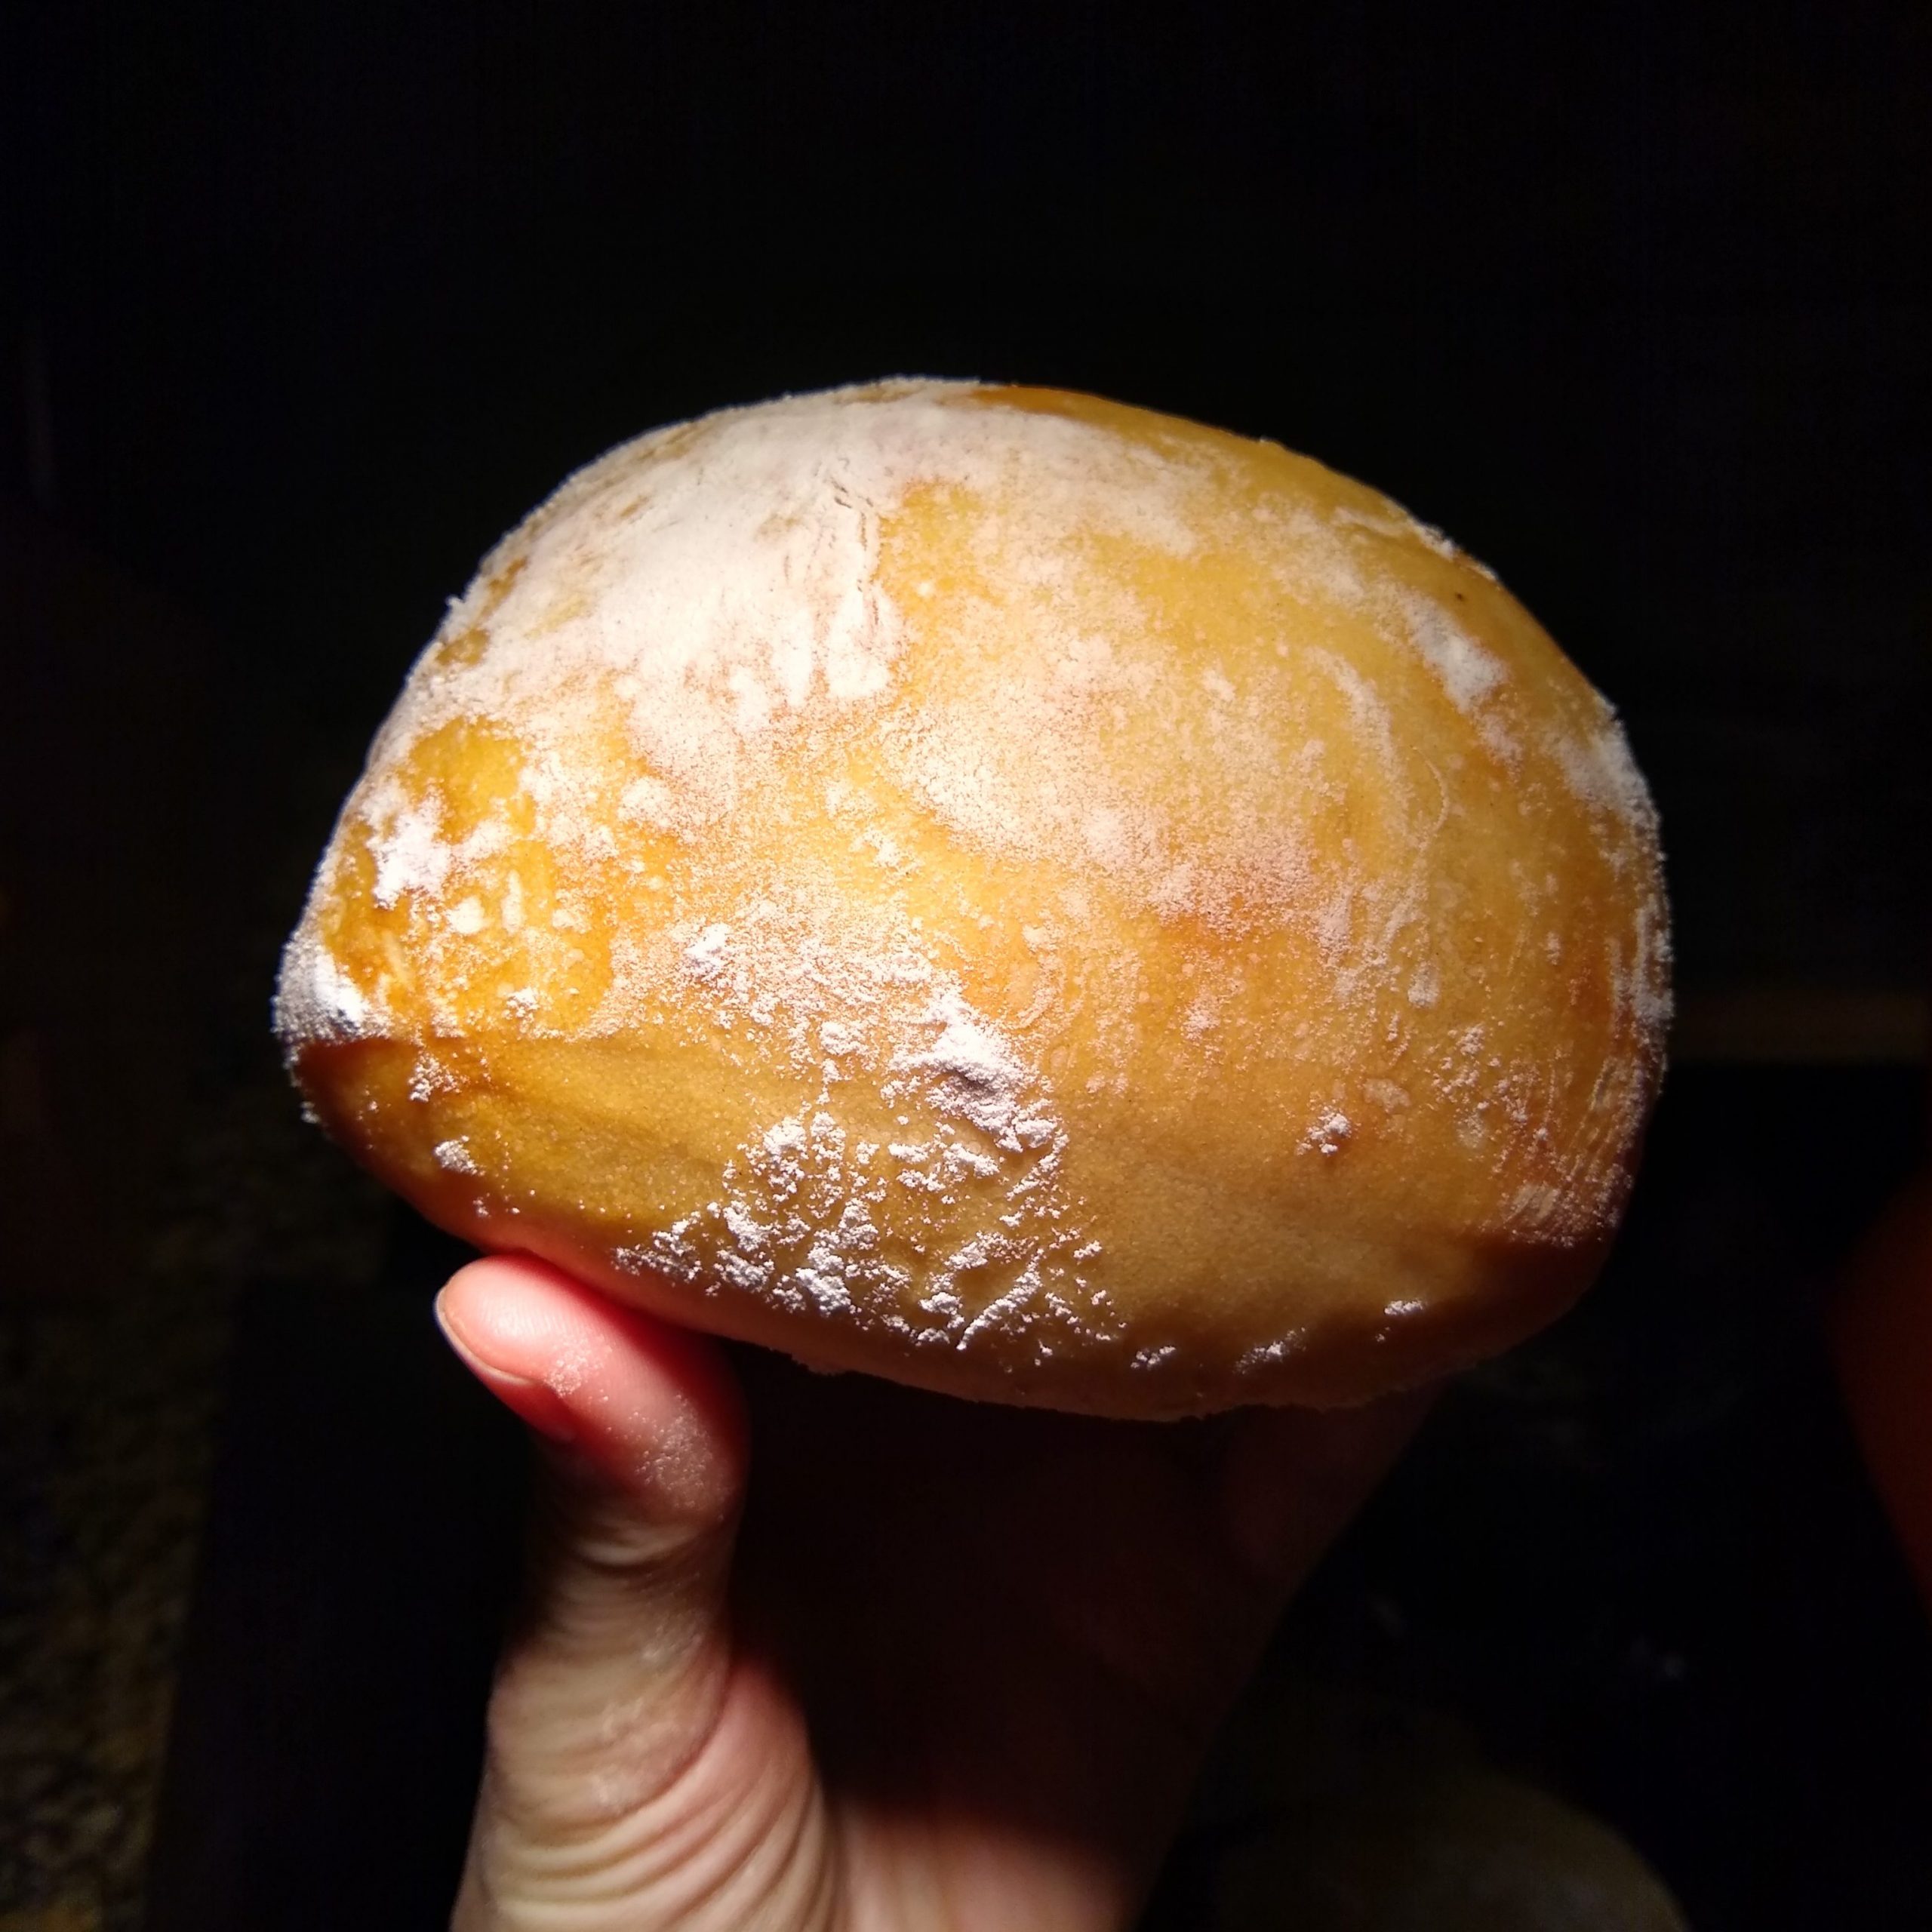
Ciabatta Buns
And for Neil, lover of a good sandwich/burger bun, my first go at ciabatta. We’re already nearly done our second batch. This recipe from Ahead of Thyme is a winner!
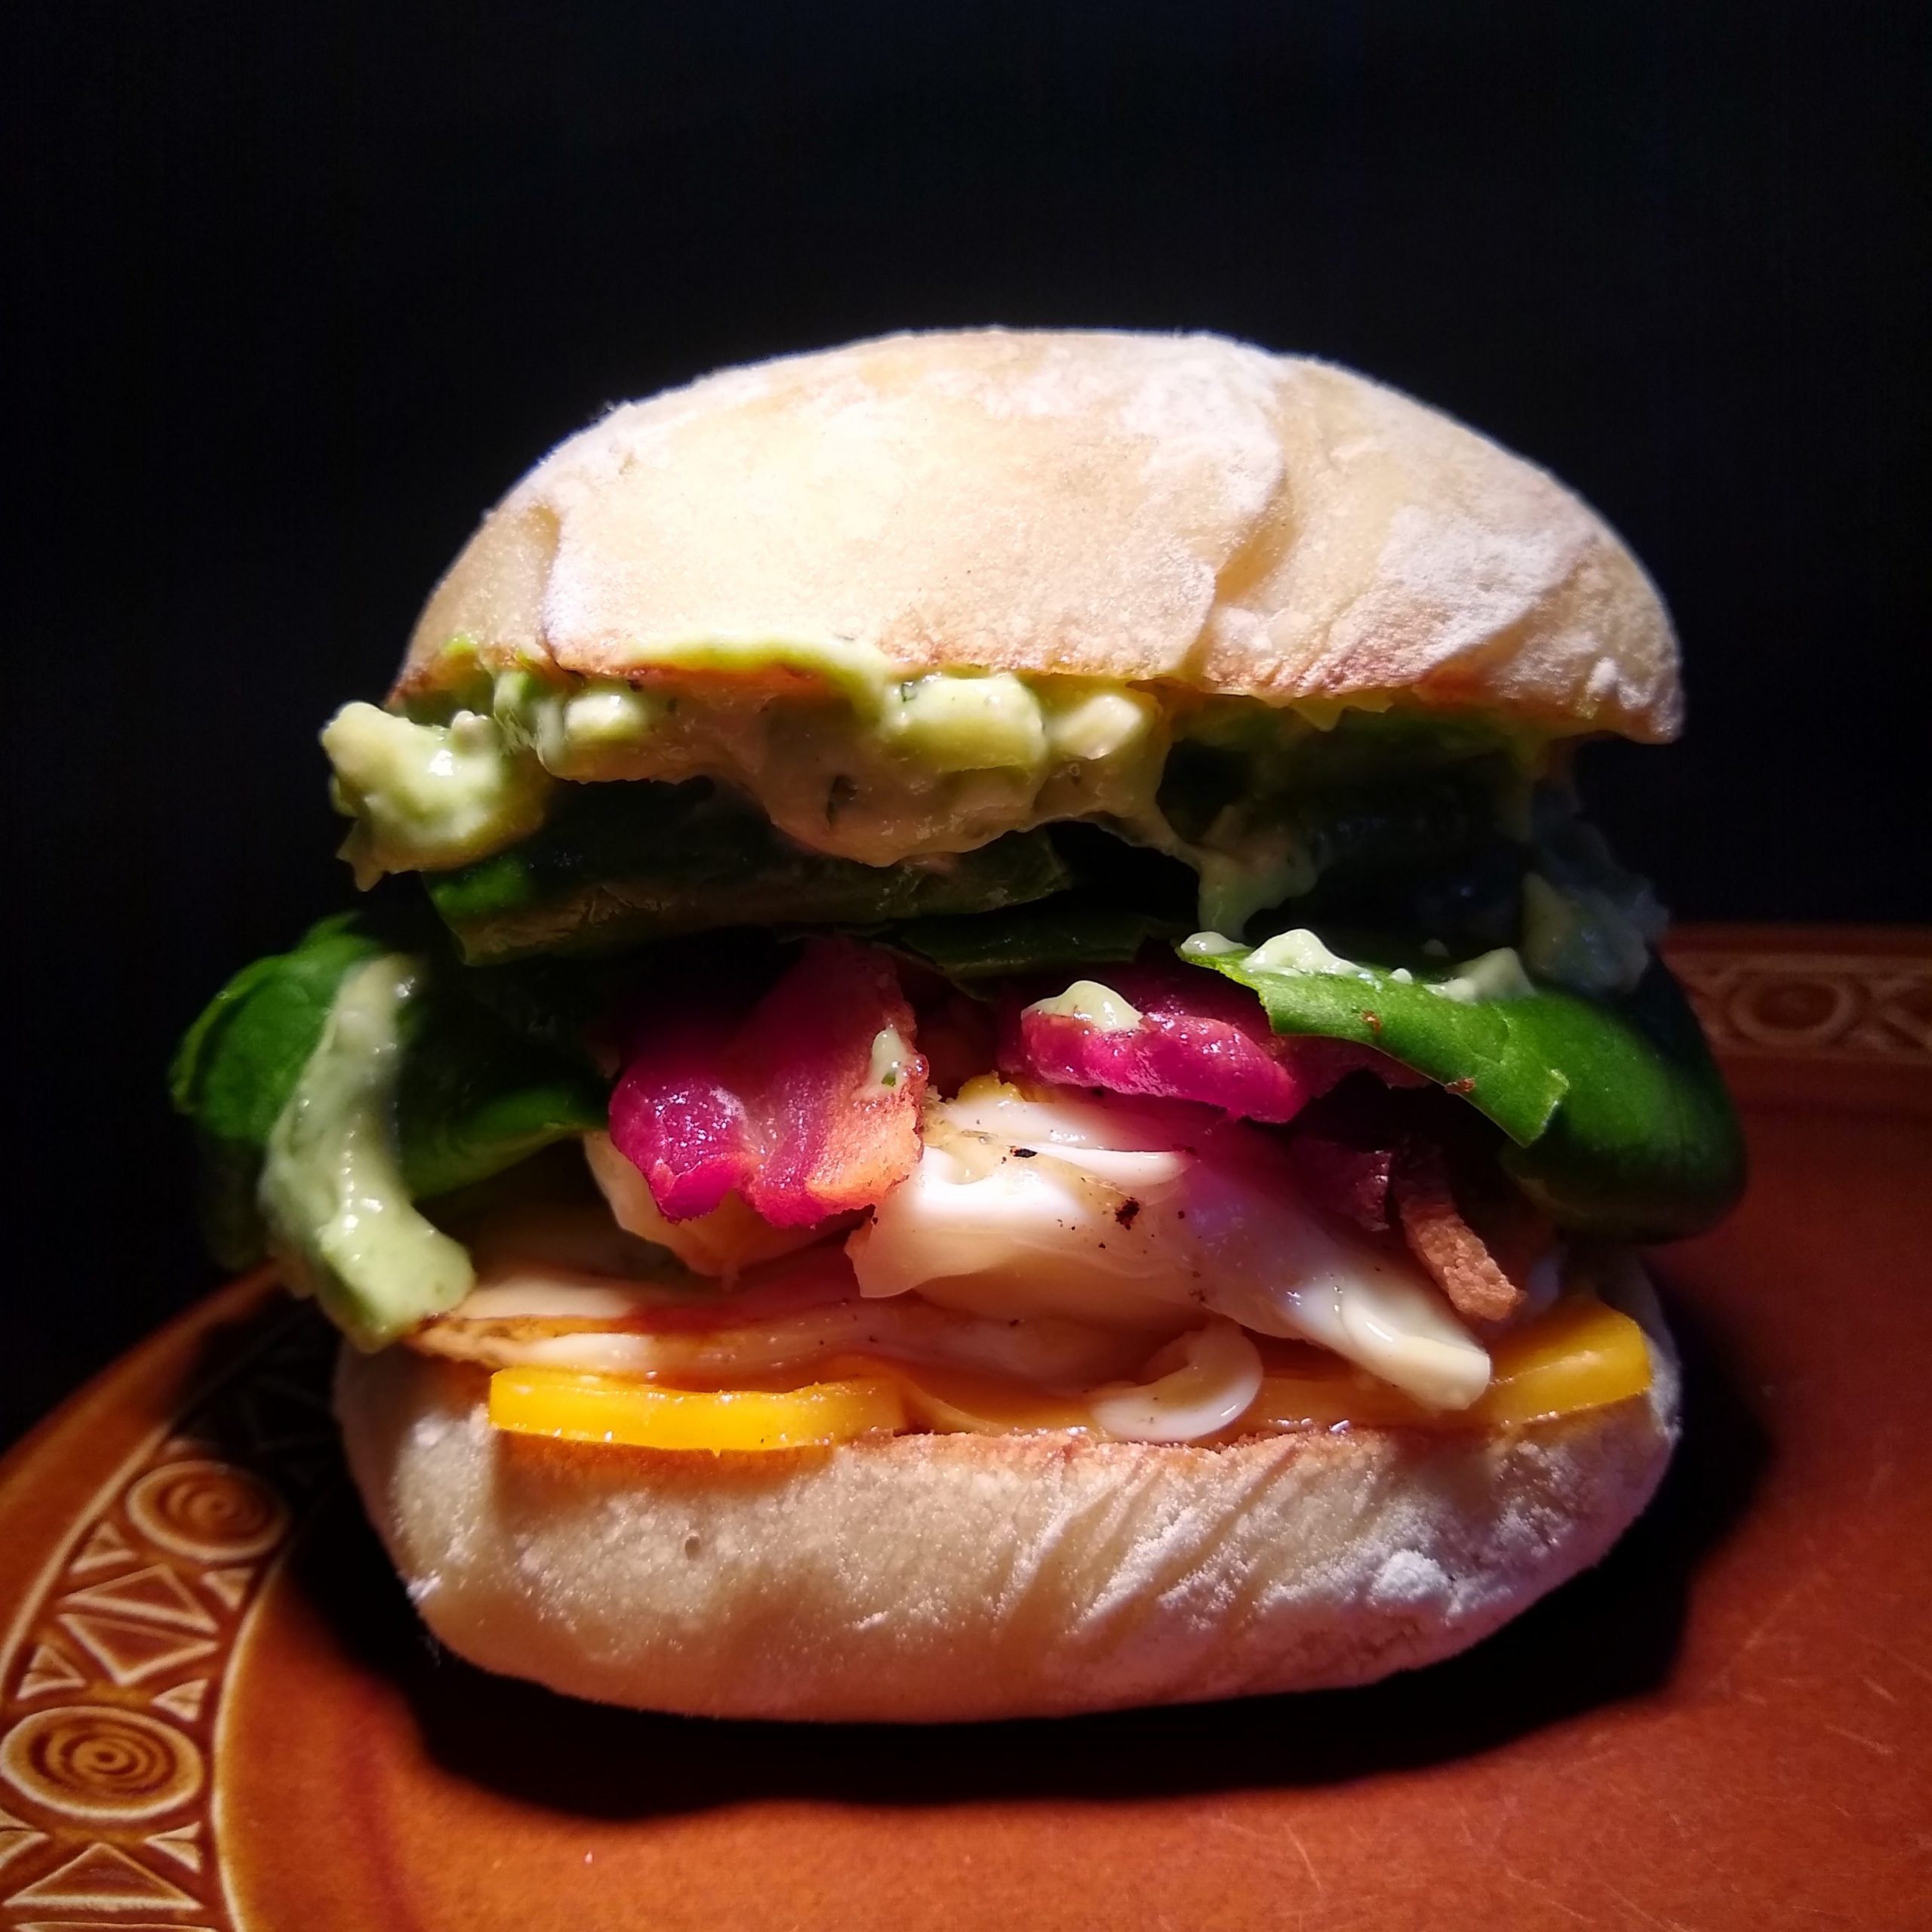
This bun was responsible for hands-down the best breakfast sandwich either of us has ever had. Local cheese, local bacon (from Haanover View Farms), local spinach, very local egg, and the last of that interloping avocado — stretched into a scrumptious aioli.
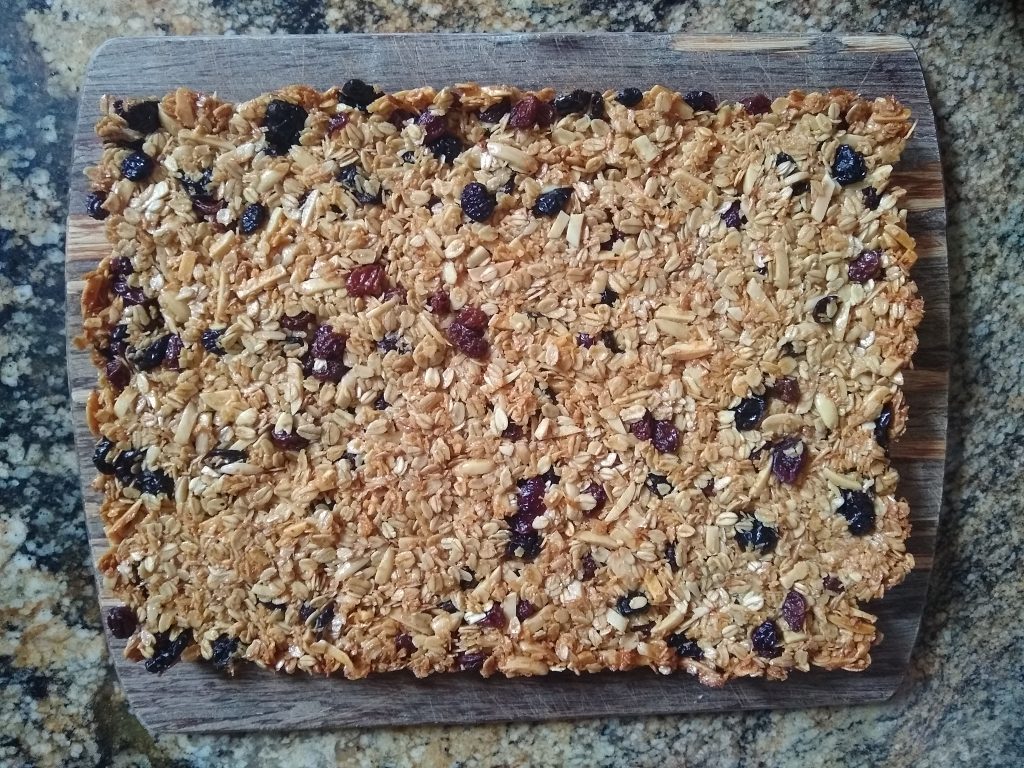
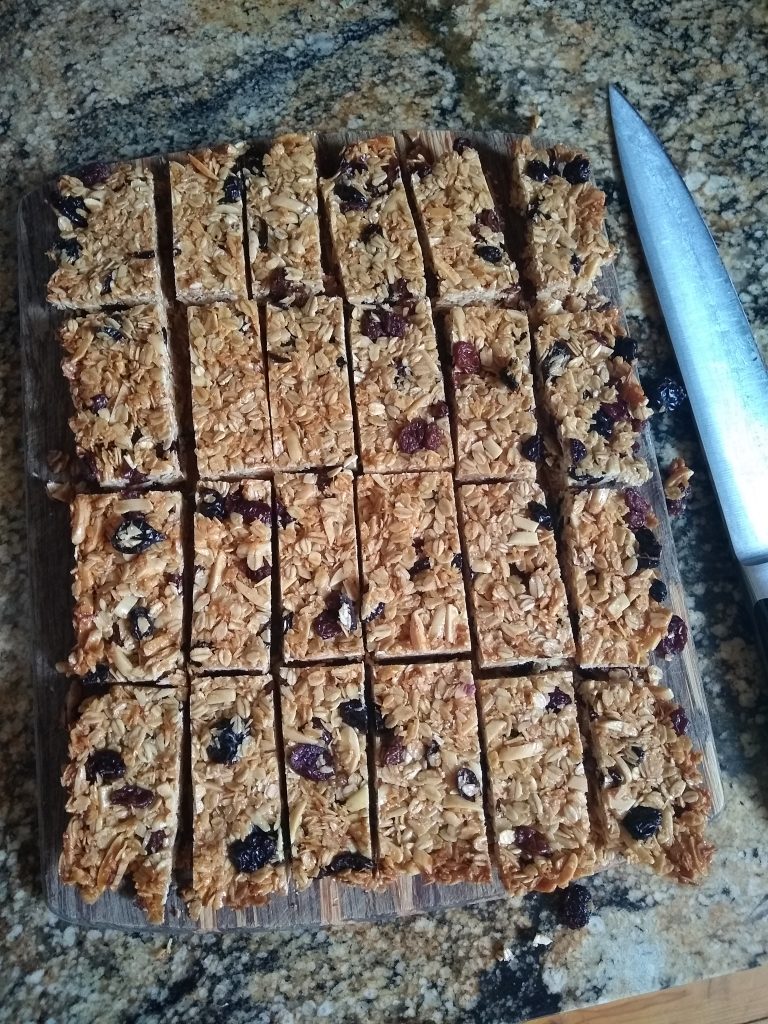
Granola Bars
Sticking with the adage of try-to-make before you buy, I baked up a fresh batch of granola bars to fuel our woods walks, or just an afternoon of programming. I was lucky enough to find this great recipe very soon after I started making granola bars a couple of years ago. I use this Ina Garten version, heavily modified based on whatever I happen to have in stock (I also skip the sugar, and go a little lighter on the honey — and they’re still delicious!)
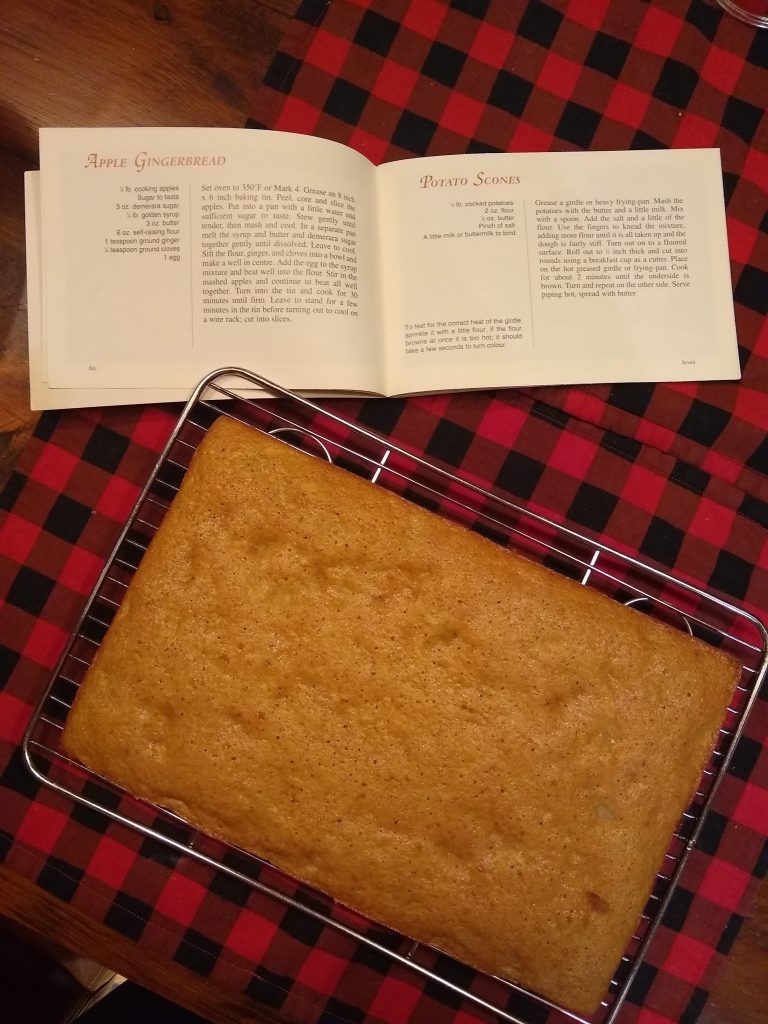
(Half-)Scottish Teatime
A recipe I definitely did not skimp on sugar was this Apple Gingerbread from our “Scottish Teatime Recipes” book. A $5 used book score from Samson Books that has proven to be just delightful. It doesn’t look like much, but when the syrup is measured by the pound you know it is going to be sweet. I can’t handle more than a few small bites, but Neil is very pleased it is here.
So that’s a sample of our miscellany of makering so far this January. I have a sort of feeling our next chat here will be back to Snow Stories. It seems im-possum-ble that I could stay away from talking about the animals for long… Hint hint. 🙂