I posted these “candles” to our Instagram stories the other day. I got so many DMs that I thought I’d post how I made them.
I saw candles like these on an Instagram repost from Flannel Dog Farm, and I knew I had to try making some myself. The original post, with the beautiful felt/wood candles in the background, was about (re)normalizing a different sort of holiday gift giving. Instead of buying different, buying not-at-all. Swapping seeds, starters, recipes. I’m in!
How To: Wooden Candles
I made these candles by creating a needlefelted flame, and attaching it to pruned wood with a dowel. We always have a stash of cut saplings and branches with the firewood, usually either from removing invasives or from windfall. Invasives like buckthorn would be perfect for this project.
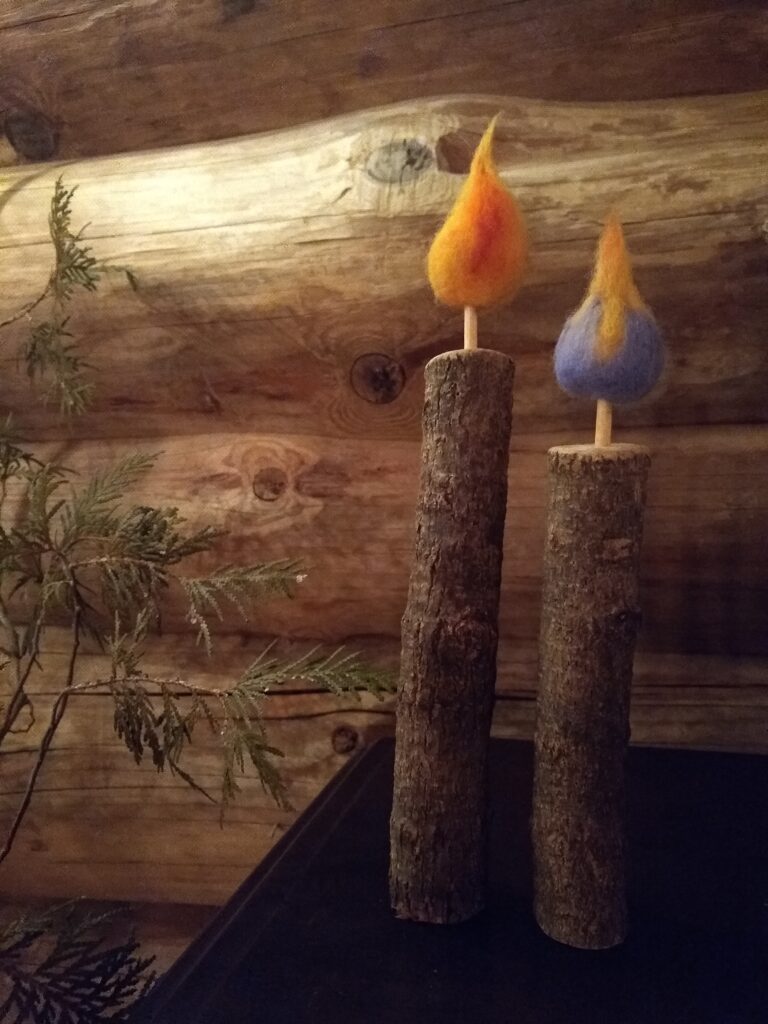
I looked for a relatively straight length of wood to start with, since it’ll stand better unsupported. The first step is to make a nice straight cut of the wood to whatever length you’d like your candle. The ones shown here are taller tapers, but little chonky ones also look great.
I needlefelted these flames, but they could be wet felted as well. All you need for wet felting is soap and water. Here are visuals for how to make a wet felted ball, from some videos we posted of how to make felted acorns.
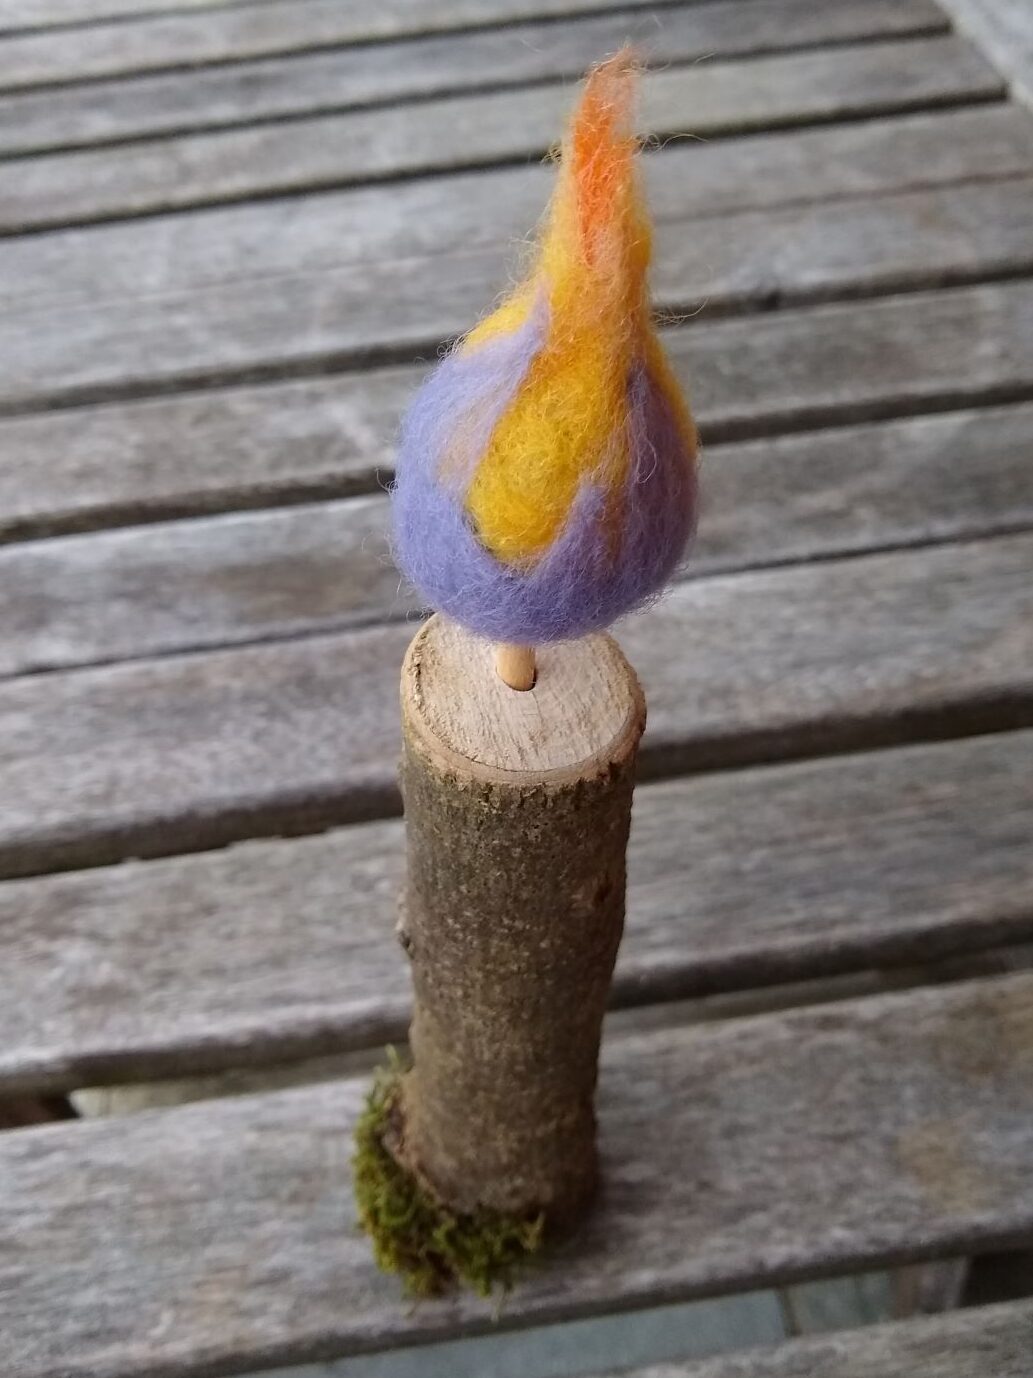
For a really bulbous flame, you can do your felting on a form — e.g. make a felted ball first, and add a flaming tip. To make the candles shown here, I repurposed a couple of small styrofoam balls from an old project, wrapping them in roving, and felting it in place.
Build up your flame from the inside out. E.g. Take a tiny tuft of red, and wrap it in orange, leaving a little exposed. Felt the red and orange together, then then wrap the orange in yellow, leaving a little exposed. Keep adding yellow until the flame is the thickness and size you would like. You won’t need much of your inner flame colours, your outermost colour (e.g. yellow) is what you’ll keep building up to get a nice fat flame. You can “stitch on” character colours with a felting needle once you have a basic shape. Once the flame is formed, you can roll and twist the tip with your fingers to create a pleasing point.
The flame and branch are then attached together with a small dowel. I started by drilling a hole in the centre of the base wood, approximately the same diameter as the dowel. If it’s a snug enough fit you won’t need glue. Then I used an awl (or nail) to “pre-drill” the flame — poking a hole in the bulb end, then inserting the dowel. I find sanding and rounding the edges of the branch at the top gives a pleasing look. I think I’ll be even heavier handed next time, and really “melt” that branch.
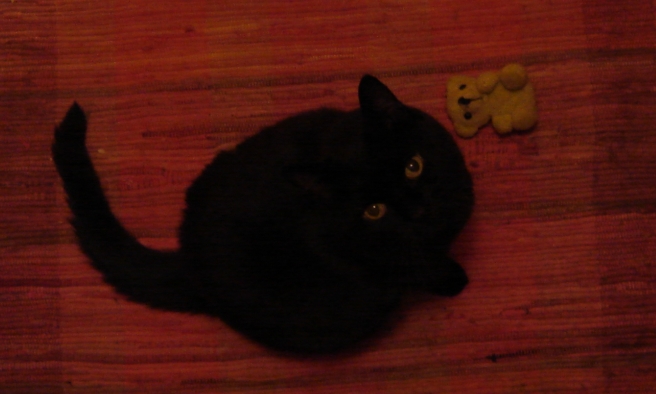
These “candles” are perfect for if you have a spot that could use a little warm cheer, but where it isn’t safe to have an open flame. Or if, hypothetically, you have a cat who likes to jump up on the coffee table, immediately swishing her tail right through the candle, and then you have to quickly both extinguish a tail, and learn how to get wax out of fur.
If you try making one of these candles too, I’d love to see a photo. Happy making, makers!
~Kate