
Many many many years ago, I saw a Lee Valley product that was a mould for making “ice lanterns”. The photograph was enchanting. A winter walkway lined with glowing ice. I thought it was completely delightful… for about a minute, and then the logistics of putting together such a scene rolled over me. You’d need a mould for each lantern, or to mould one lantern at a time, you’d need to freeze each mould, etc etc.
But the idea went into deep storage in my mind. Fire and ice, together at last.
(My love of fire and ice runs deep. Before Neil shared his dream with me of a wedding shared with family and friends, I originally wanted to elope in a red dress at an ice hotel in Sweden. Perhaps for our 50th anniversary…)
Sometimes when I get a few steps further down the maker path, I’ll suddenly realize that I now know how to make an old idea come true. With all this good cold weather recently, I was inspired to look up D-I-Y Ice Lanterns, and the internet did not disappoint.
I used a hybrid solution, based on a few different suggestions. And with a bit of trial-and-error, and one false start, it turned out beautifully!
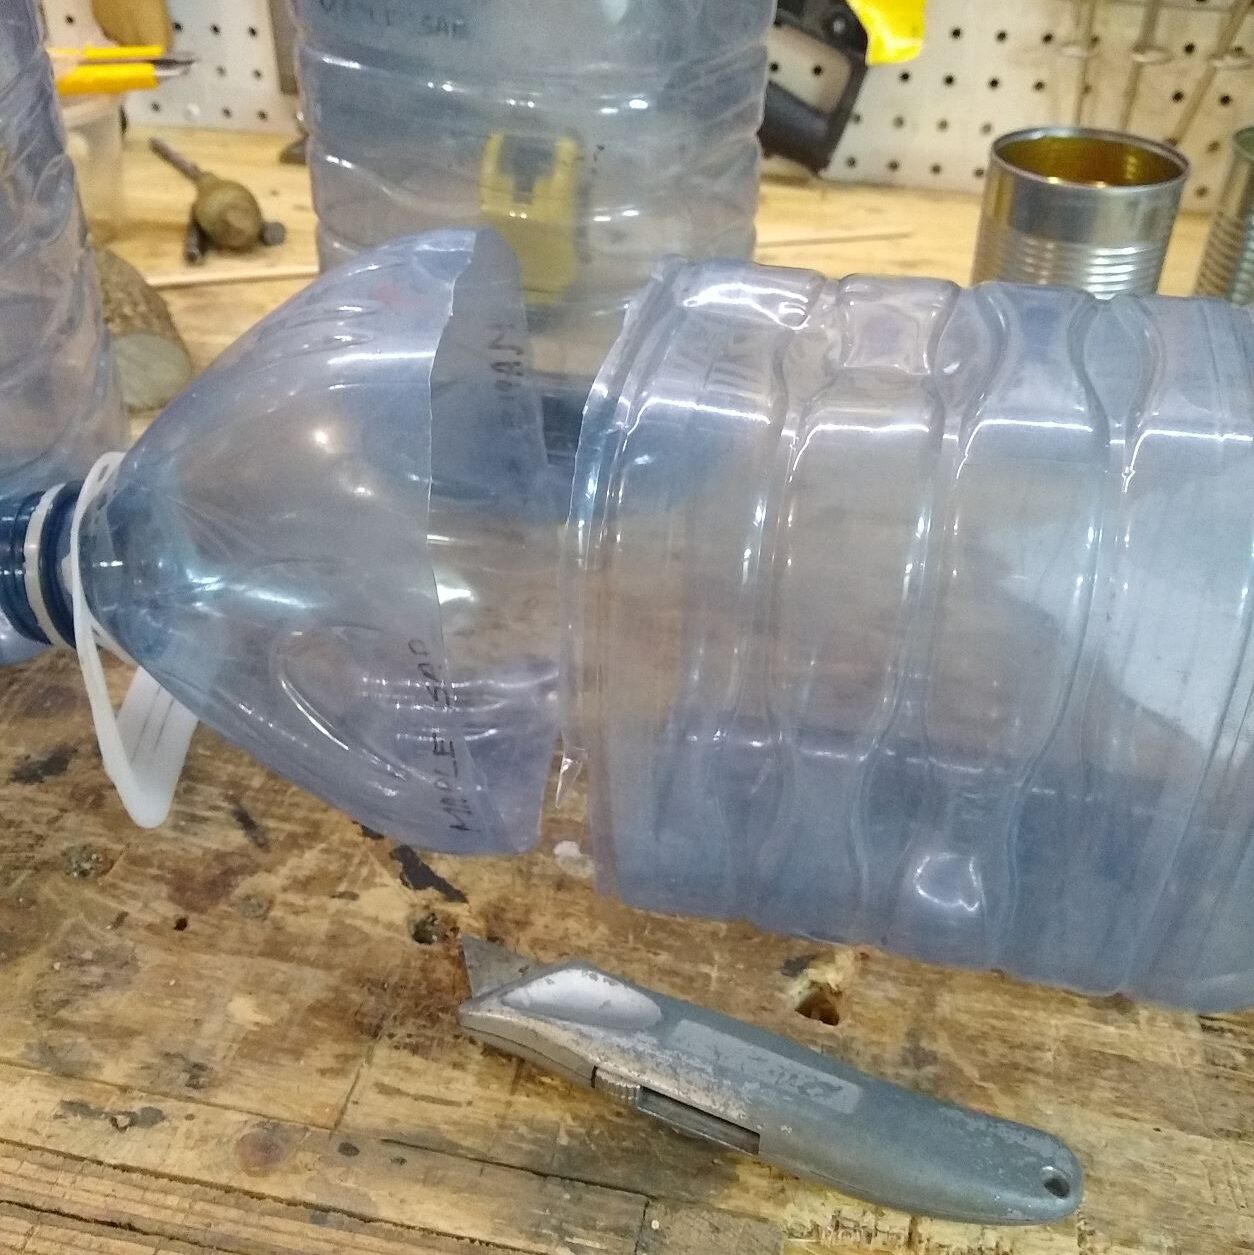
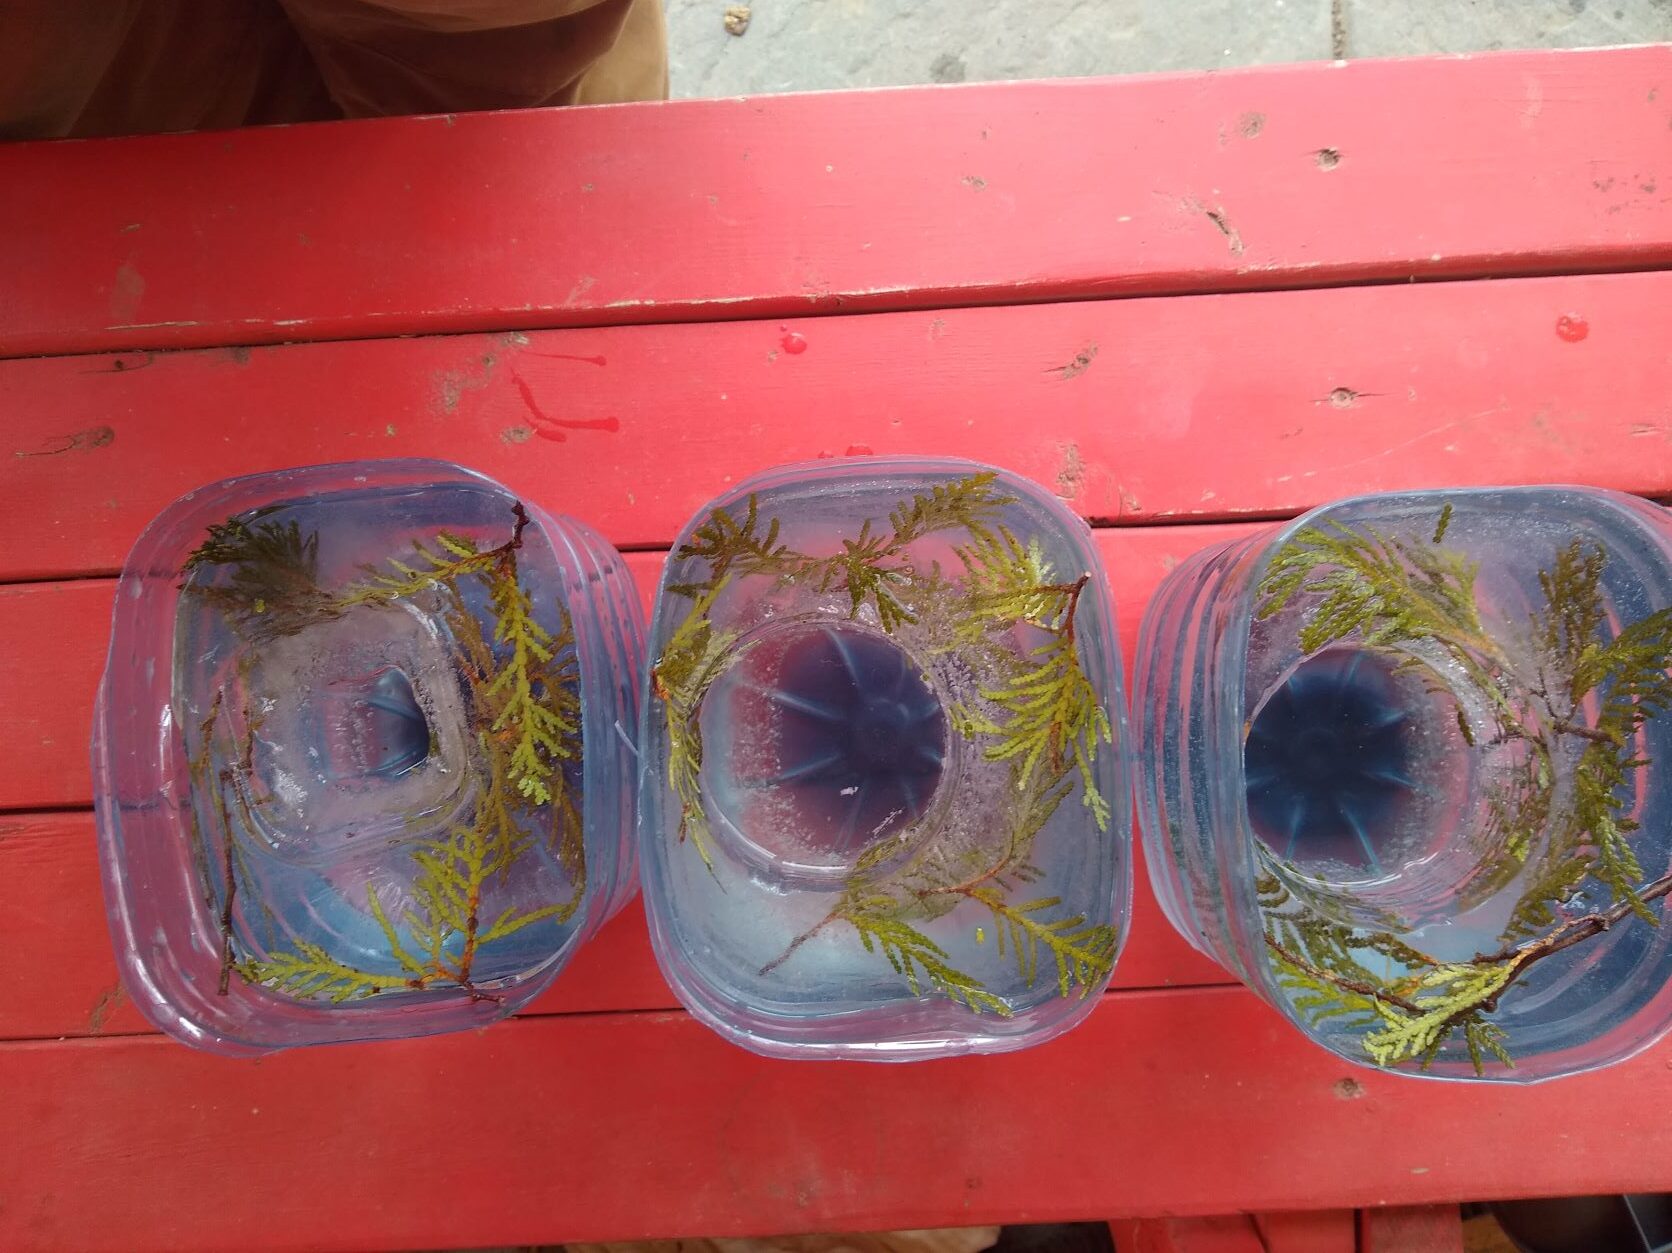
Step 1 was to make a mould. For this, I used one of the many plastic water jugs we keep for transporting maple sap. We buy in distilled water to top up the batteries on our electric side-by-side. Once the jugs are empty, they go into service to transport sap from tapped trees during maple syrup season. Now they’d be starting their third life — as ice lantern moulds.
Step 2 was to find a smaller vessel to float inside the jug. This reserves the space where your candle will go. For this, I used an empty soup can from the recycling — which, btw, could later become its own tin-punch lantern. It’s DIY lanterns all the way down baby.
Your smaller vessel — the can, in this case — needs to be small enough that when both the can and jug are filled with water, the smaller vessel (the can) is floating a good distance off the bottom of the larger vessel (the jug). A good few inches. The role of the can is to reserve a space where your candle will go. If the can is touching the bottom of the jug, there won’t be any ice under the candle. Too little ice under the candle will also mean the lantern won’t last as long as it melts.

Fill both vessels — the jug and the can — with water. 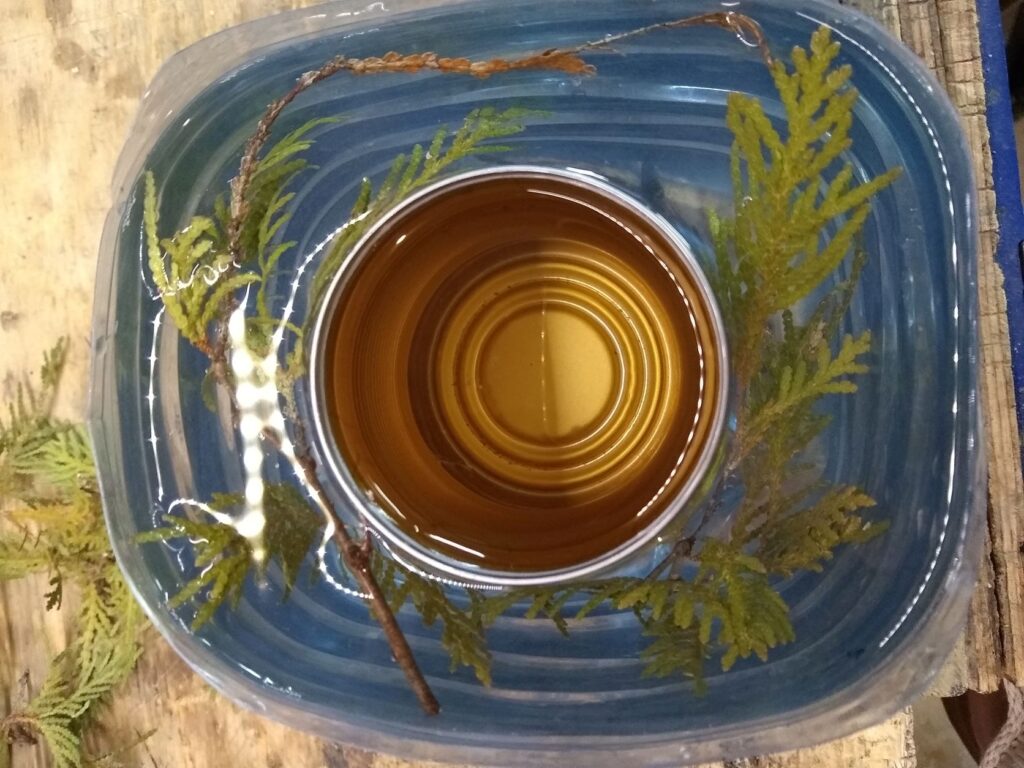
Bits of greenery or berries can be added to the water, to freeze into the lantern.
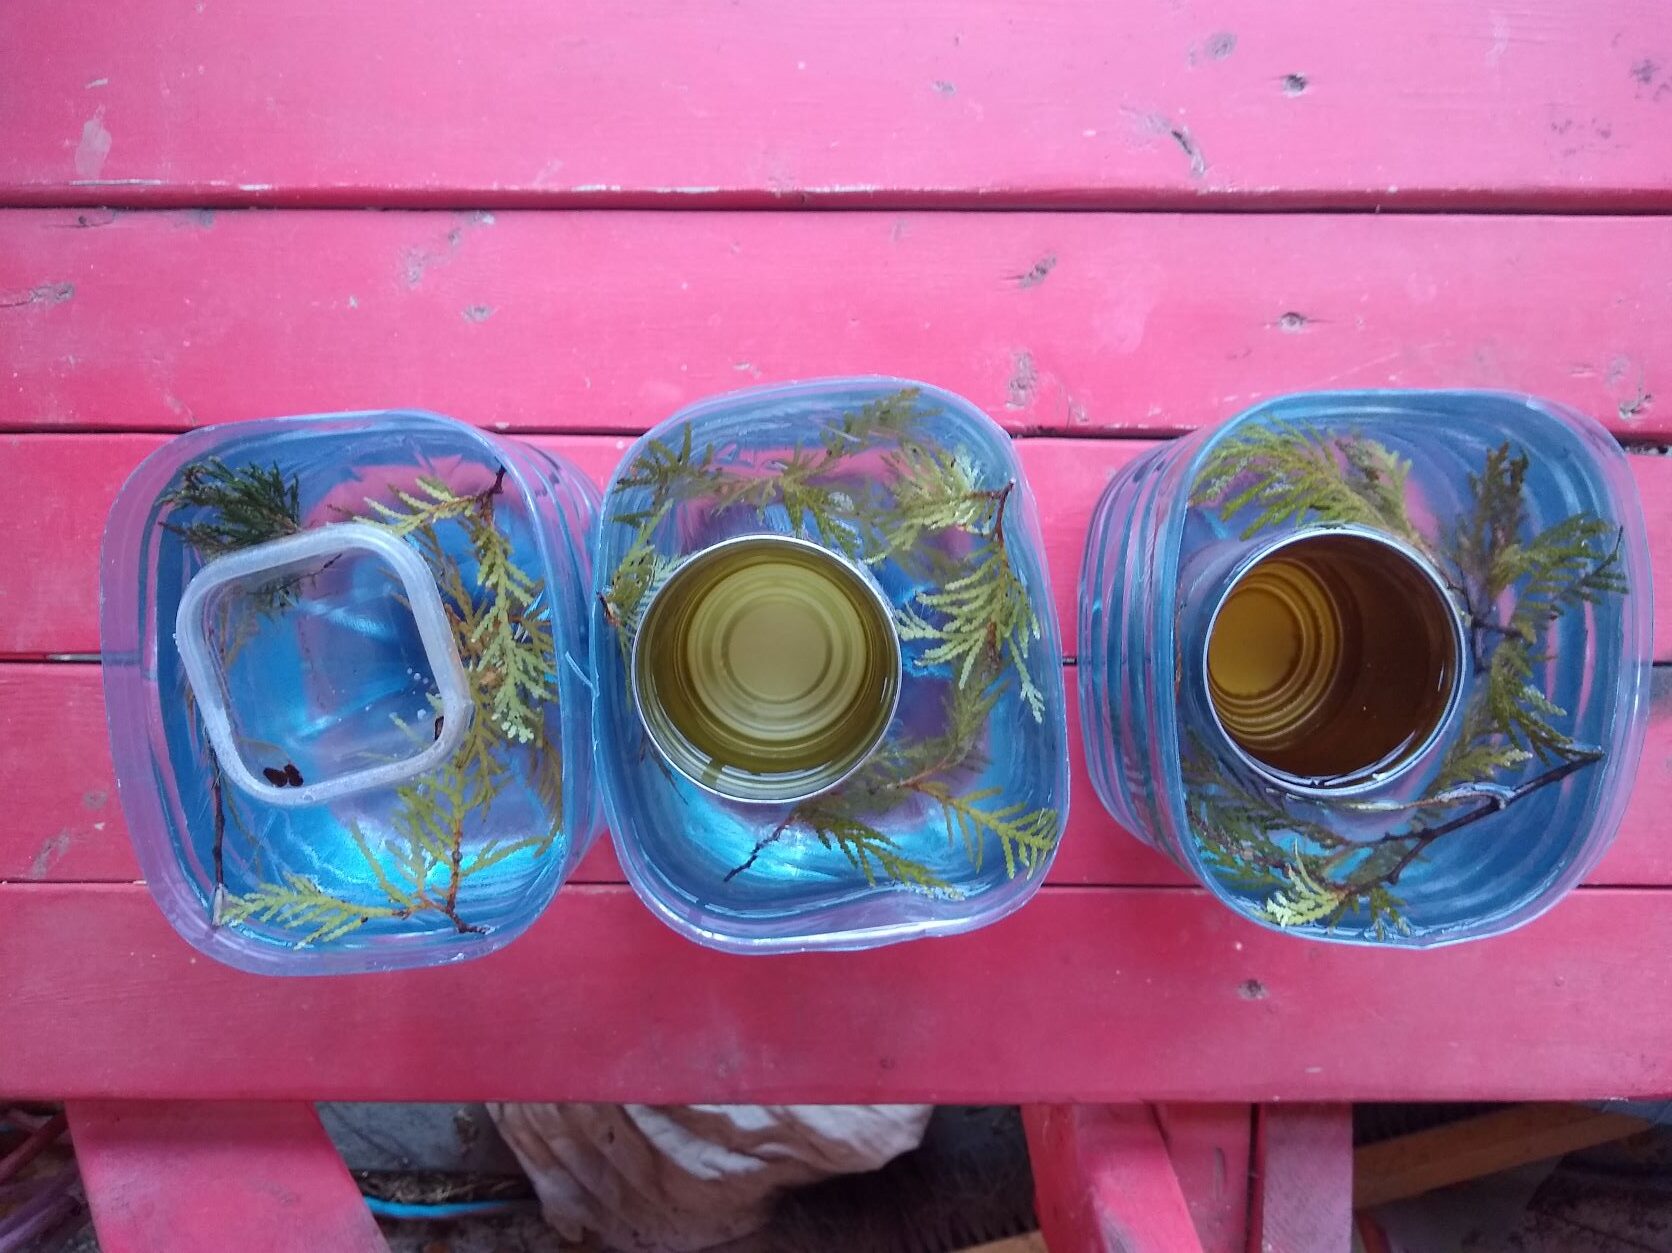
You can come up with little rigs using clothespins and wooden blocks to ensure your can remains centered in the jug. This wasn’t important to me because I didn’t mind if the candle wasn’t perfectly centered. But there are lots of tips out there to jerryrig something if this is important to you.
One of my bigger, sillier, a-ha moments in this project was realizing I didn’t need to space to freeze the lanterns in our freezer. I think the original Lee Valley listing said something about making sure you had sufficient freezer space for your moulds. So that just lodged in my head as The Way To Do It. But we only have a small chest freezer now, and only a fridge-freezer at the time, and – since I am part squirrel – our freezers are always full. My “a-ha!” was realizing that if it was cold enough outside for ice lanterns, it was cold enough outside to make ice lanterns. Boom. So I just waited until the forecast called for a chilly few days, and popped the moulds outside to freeze.
Though it was chilly, the temperature did fluctuate a bit, and the first time I tried to unmould the lanterns, though they seemed frozen, they hadn’t frozen completely. The space under the can was not frozen through, leaving an opening to the bottom.
But being a maker is all about problem-solving and iteration. I realized I could just pop the semi-frozen pieces back in the moulds, pour more water through the hole in the ice until there was water covering the bottom, and leave them to freeze again.
To unmould the lanterns, think of them like frozen popsicles — you just pour warm water over the outside of the mould until the inside becomes loose enough to pop out. The same is true for the can. I poured warm/hot water directly into the can until the ice inside the can melted, and then warm water into the now empty can until the can was loose enough to come free from the ice in the jug. An alternative I have seen is to put rocks in the can instead of water — just enough to keep it floating flush with the jug’s surface. This would mean you don’t first need to melt the ice away before you can warm up the can to remove it.
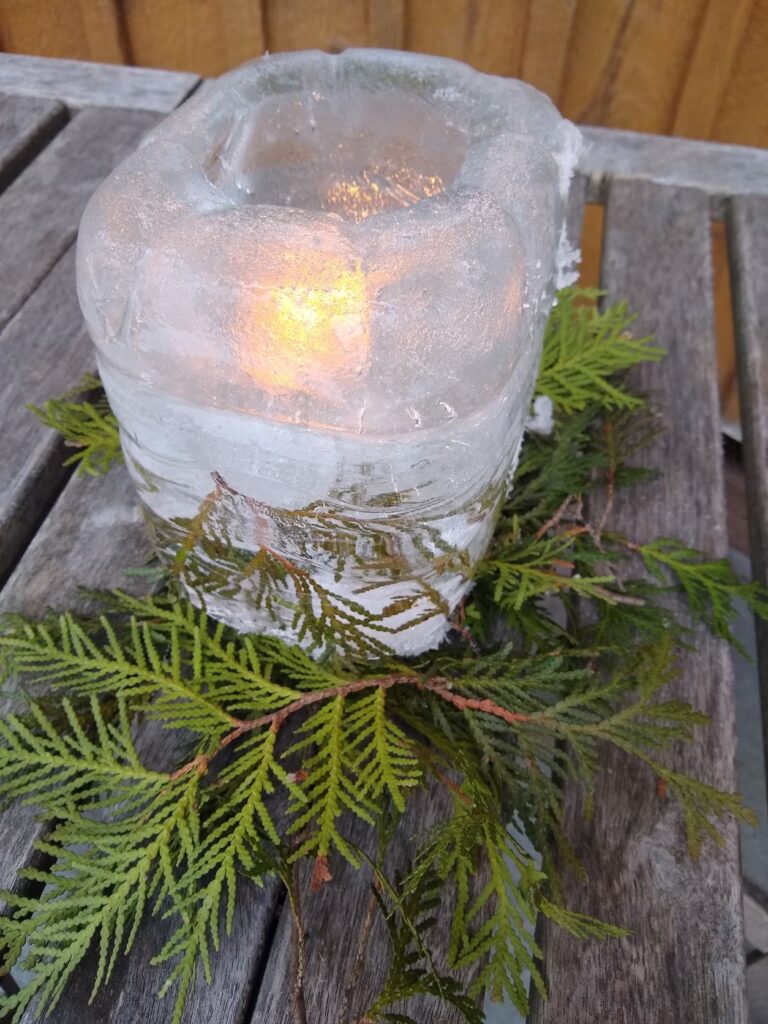
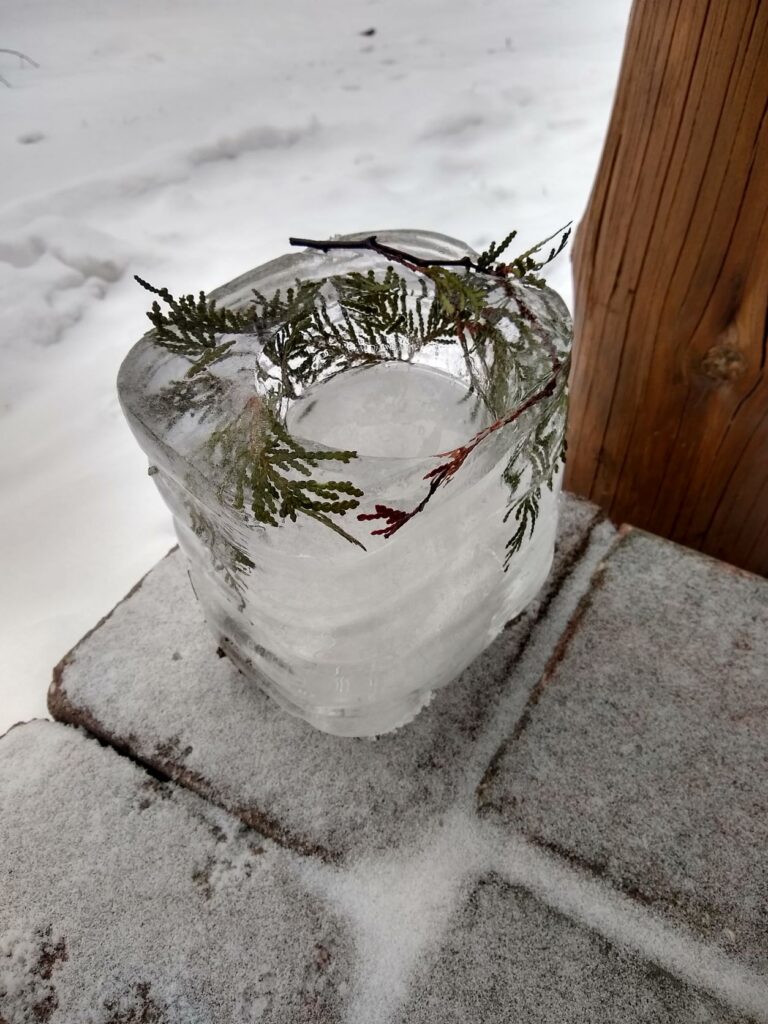
The second try was much more successful. And the trick to just refreeze the base worked a charm. The can popped free of the ice, and then the ice popped free of the jug. Add a tealight, and shazam!
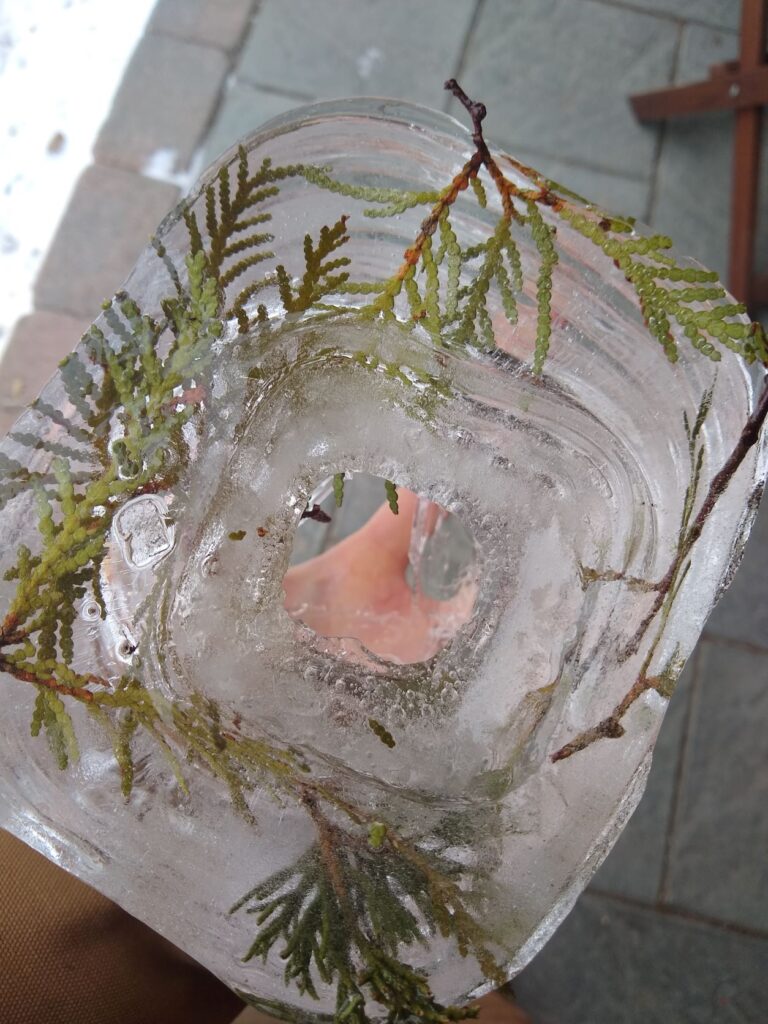
The can leaves a space for a tealight 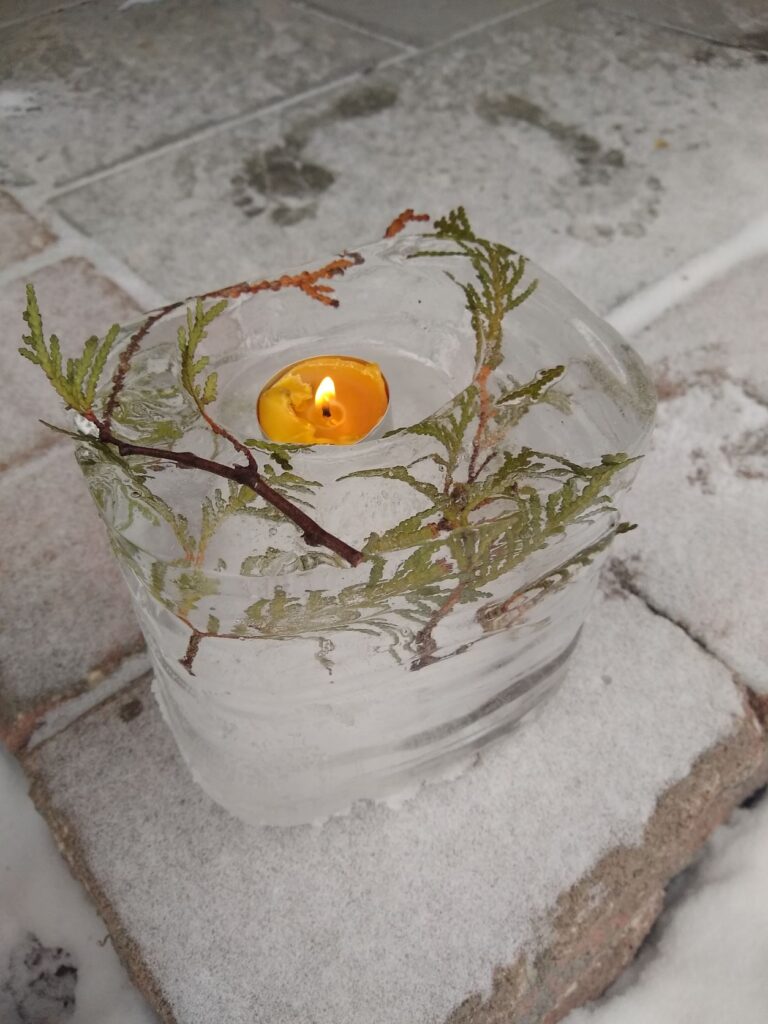
The tealight from above 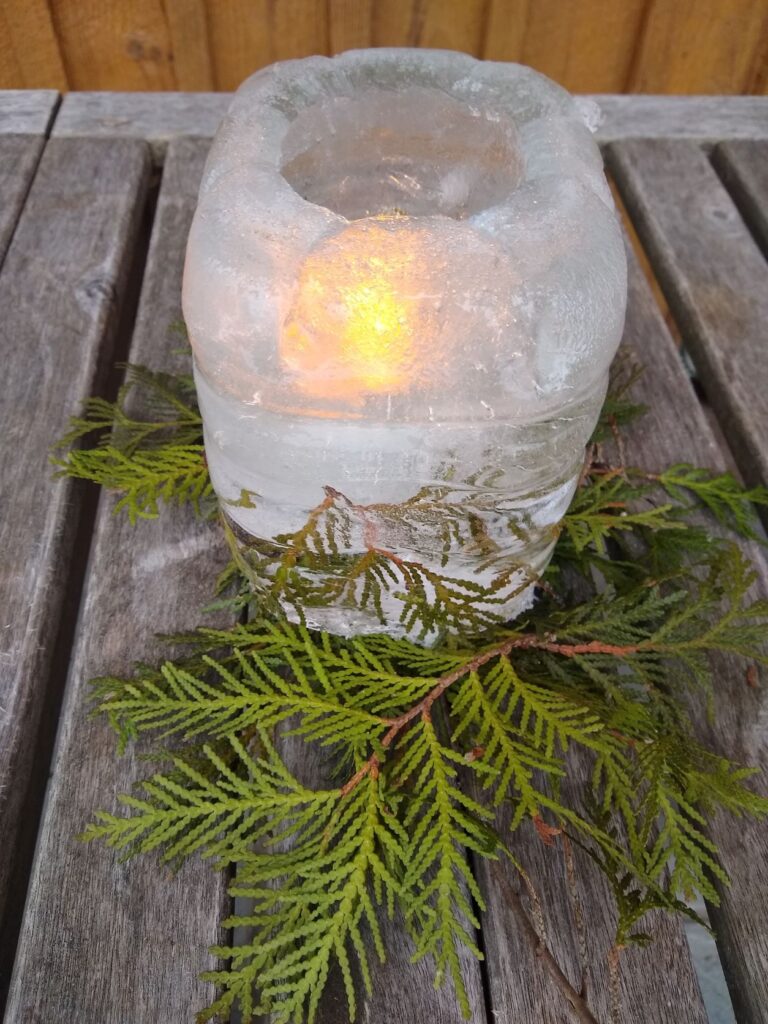
The tealight through the ice

And that’s it! A plastic water bottle, a tin can, a tealight, some water, some cold, and some time, and you’ll have your own ice lanterns.
I’ve always known I would like ice lanterns. But like everything homemade, the DIY ones definitely glow a little brighter. <3
~Kate